A little bit of intro about SCCM 2012 R2 :
System Center solutions help you manage the physical and virtual information technology (IT) environments across data centers, client computers, and mobile devices. You can improve your productivity by using the integrated and automated solutions of System Center.
What SCCM 2012 R2 can do for you?
You can use the change and configuration management capabilities of System Center 2012 R2 Configuration Manager to perform tasks such as:
• Deploying operating systems, software applications, and software updates.
• Monitoring and remediating computers for compliance settings.
• Collecting hardware and software inventory.
• Remote administration
So today in this post, lets go through a full step by step how can you deploy SCCM 2012 R2 in your infrastructure, for this demo, i will install SCCM 2012 R2 in Windows Server 2012 R2.
Before we start deploy SCCM 2012 R2, be aware that there are 2 main prerequisites you need to download :
1 – Download SQL Server 2012
2 – Download ADK 8.1 (Windows Assessment and Deployment Kit for Windows 8.1)
For this demo, i will use 4 VM (Domain Server, SCCM member server, Windows 7 & Windows 8.1)
*** Please do not attempt this process in Production environment if you are not familiar with the process & setup***
Lets get started :
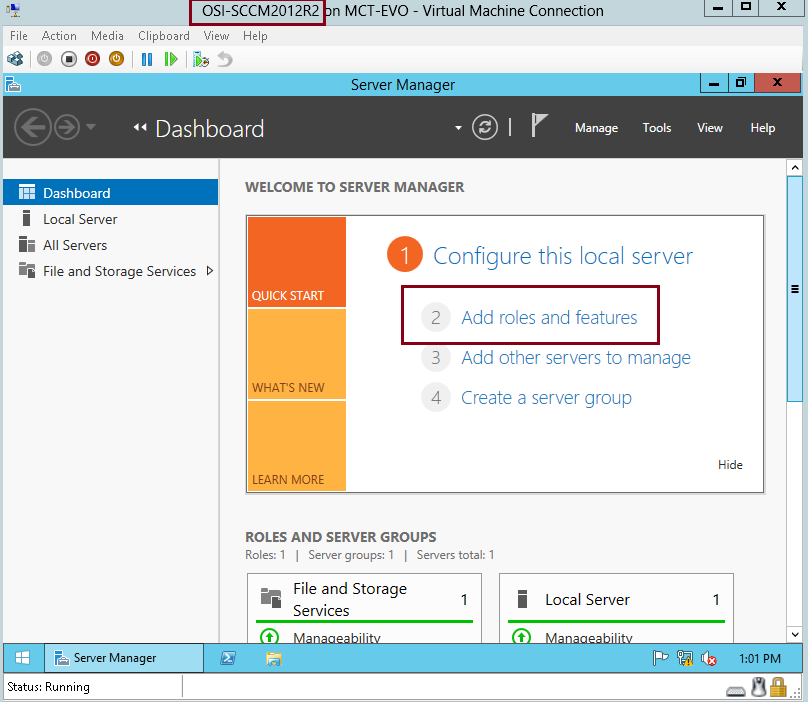
1 – 1st step we need to install Web Server in SCCM member server…
On the SCCM VM server (OSI-SCCM), open Server Manager, and click Ad Roles & Features…
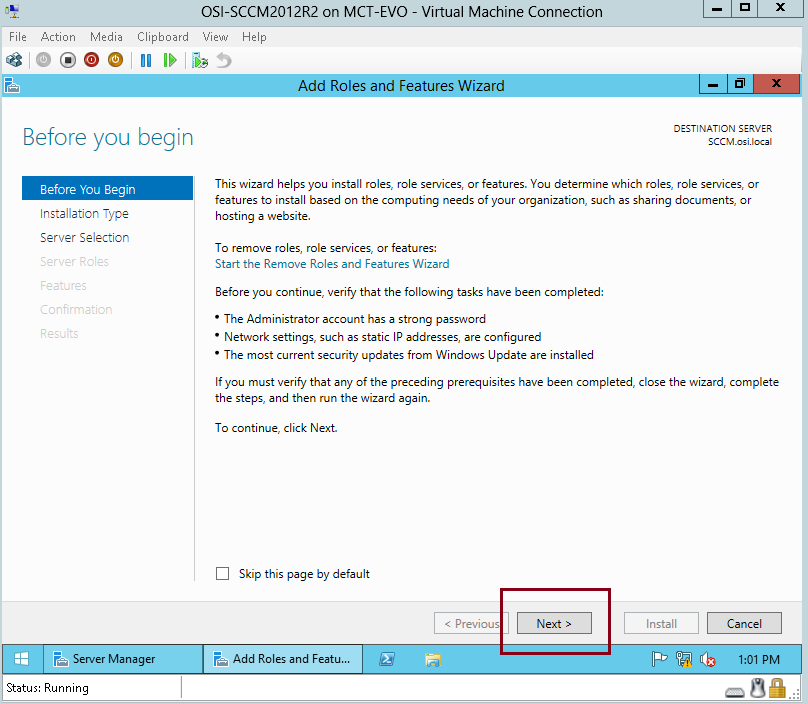
2 – On the Before you begin interface, click Next…
3 – On the Select installation type interface, proceed with Next…

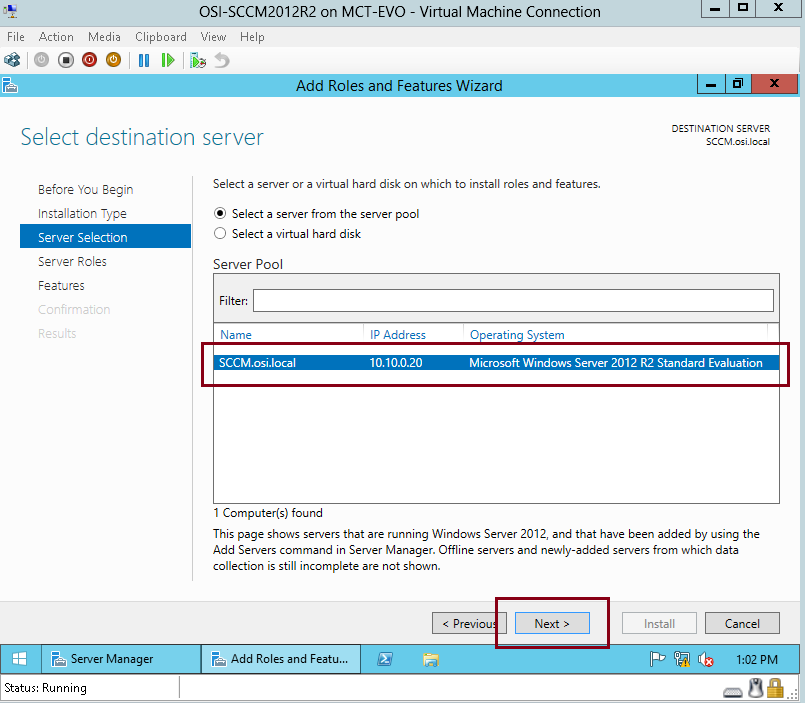
4 – On the Select destination server interface, verify your server and then click Next…
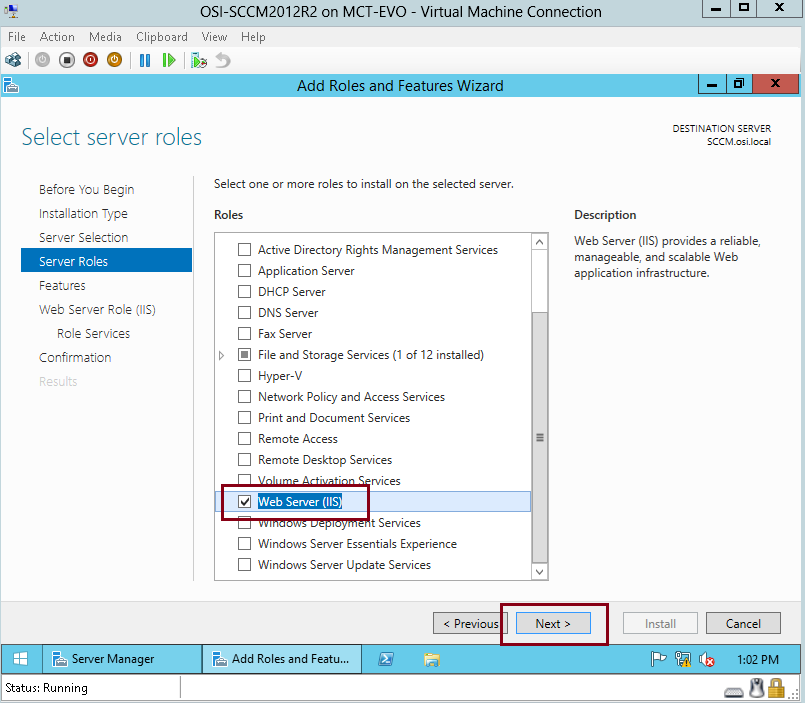
5 – On the Select server roles interface, click Web Server (IIS) and then click Next…
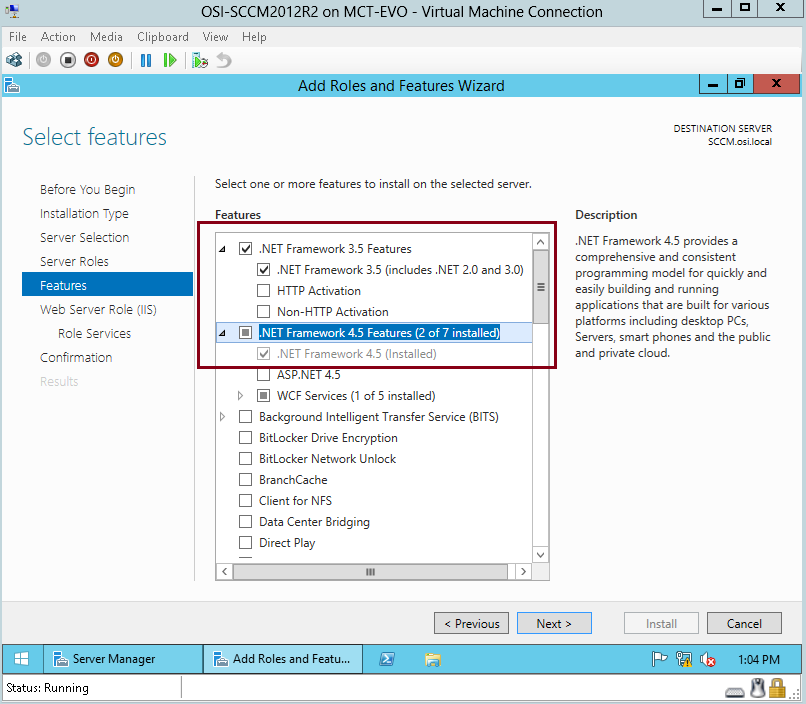
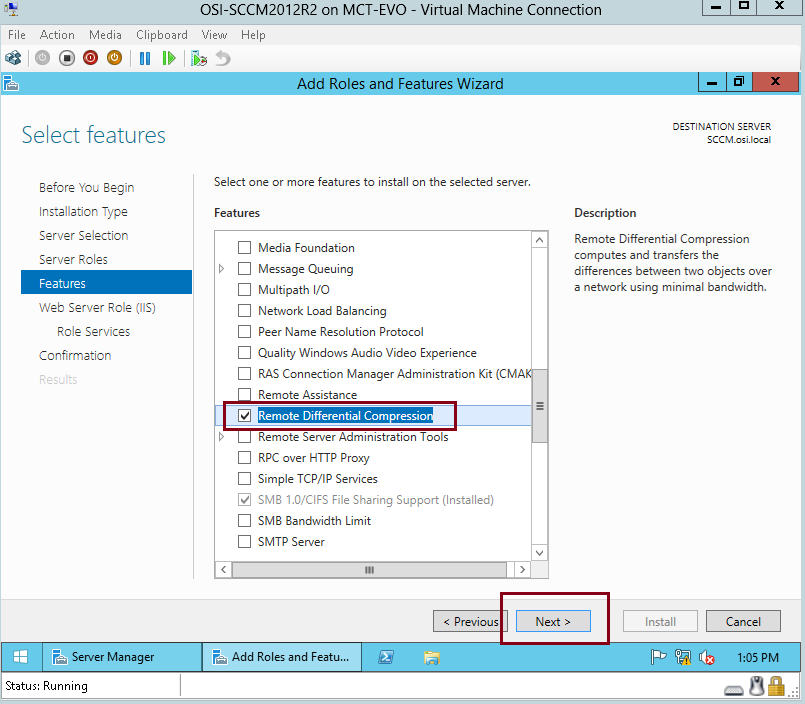
6 – On the Select features interface, click .Net Framework 3.5 & 4,5, and then scroll down and click Remote Differential Compression, then click Next…
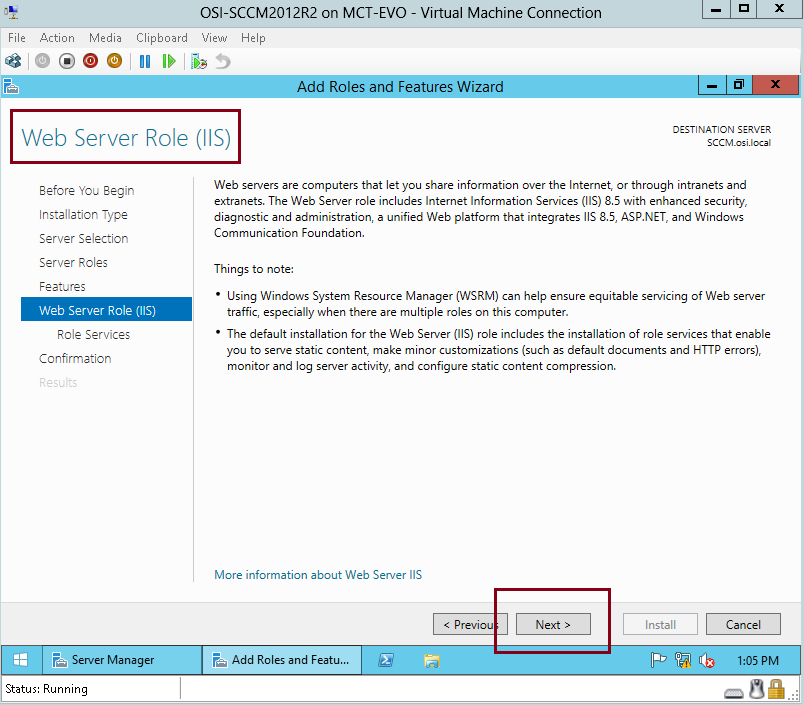
7 – On the Web Server Role (IIS) interface, proceed with Next…
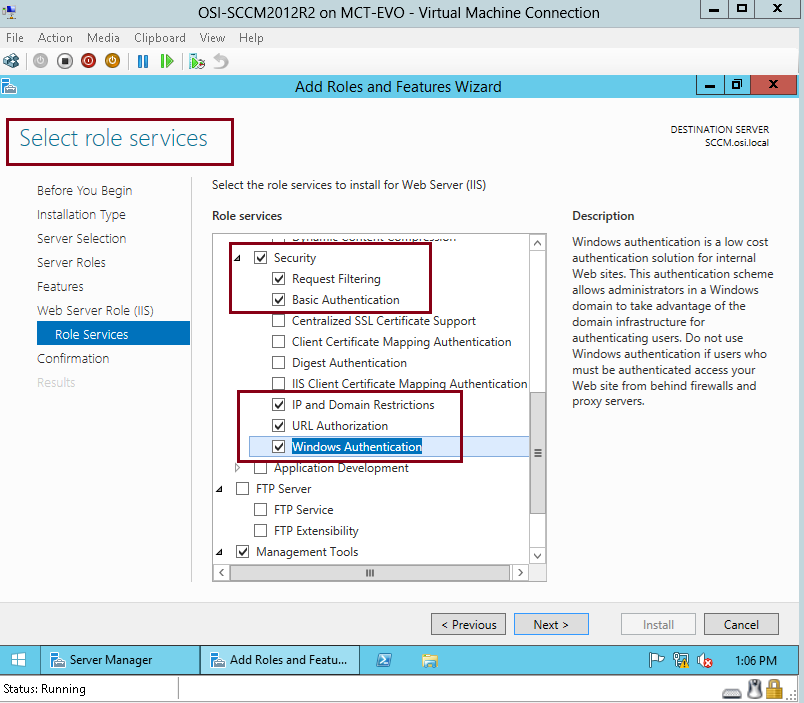
8 – On the Select role services interface, under Security and select Request Filtering, Basic Authentication, IP and Domain Restrictions URL Authorization and Windows Authentication.
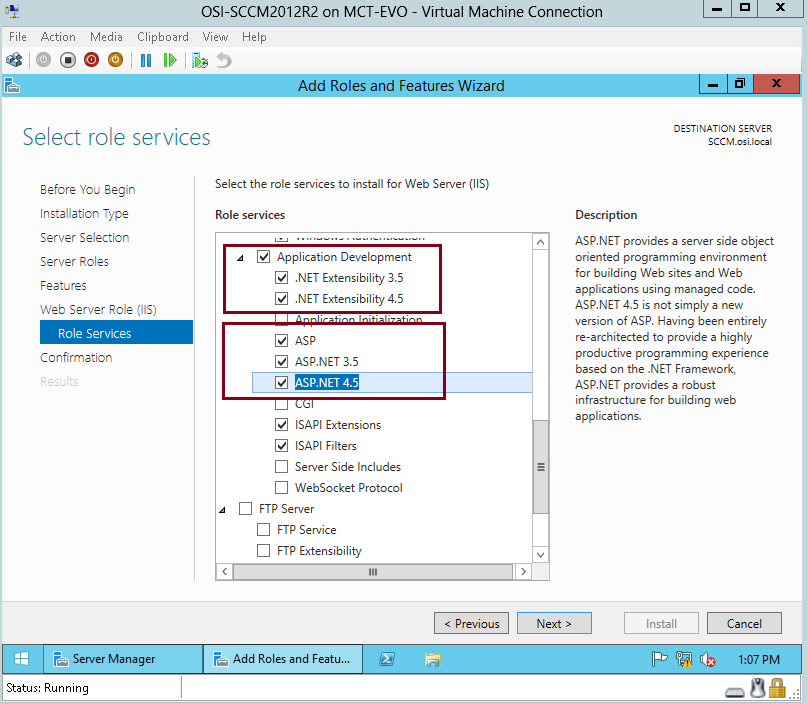
9 -Then scroll down, under Application Development, click .Net Extensibility 3.5 & .Net Extensibility 4.5, then click ASP, ASP.Net 3.5 & ASP.Net 4.5…
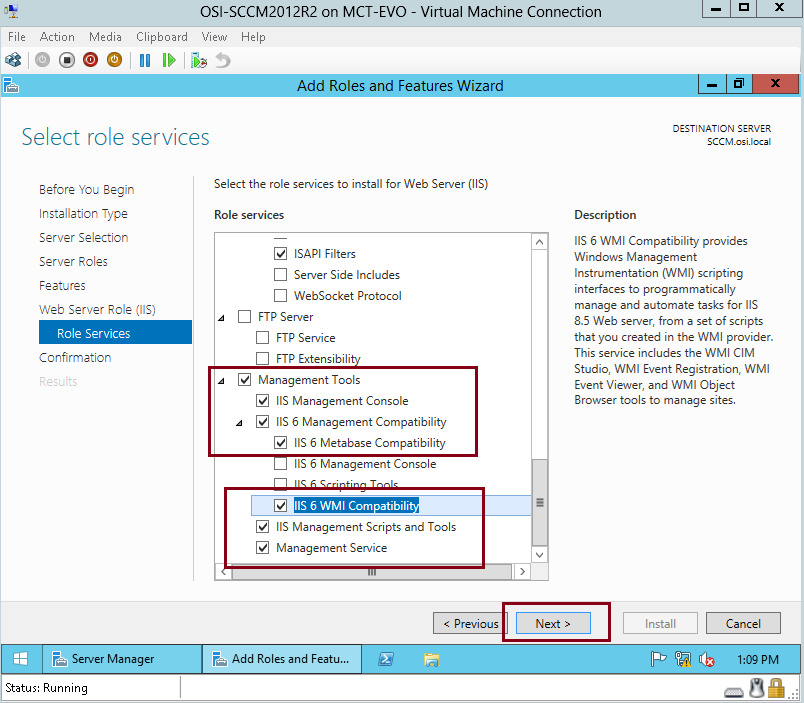
10 – Scroll down again, under Management Tools, click IIS Management Console, IIS 6 Management Compatibility, IIS 6 Metadata Compatibility, IIS 6 WMI Compatibility, IIS Management Scripts and Tools and Management Service, then click Next…
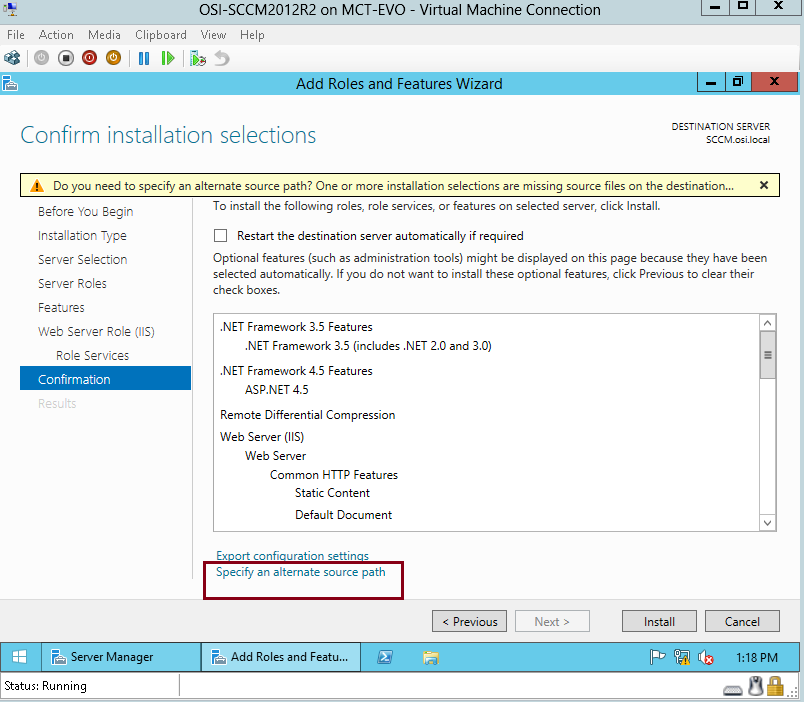
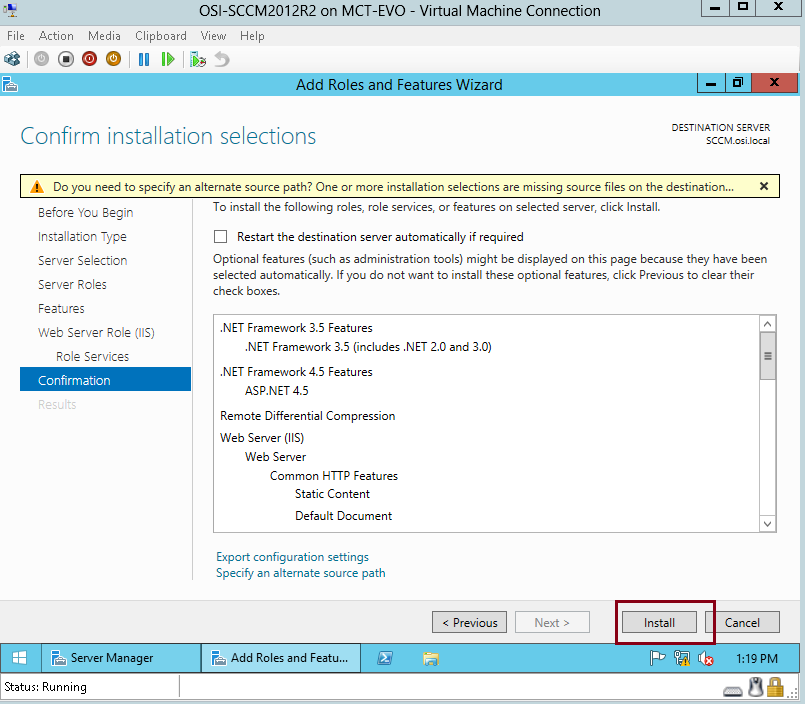
11 – On the Confirm installation selections, click Specify an alternate source path link…
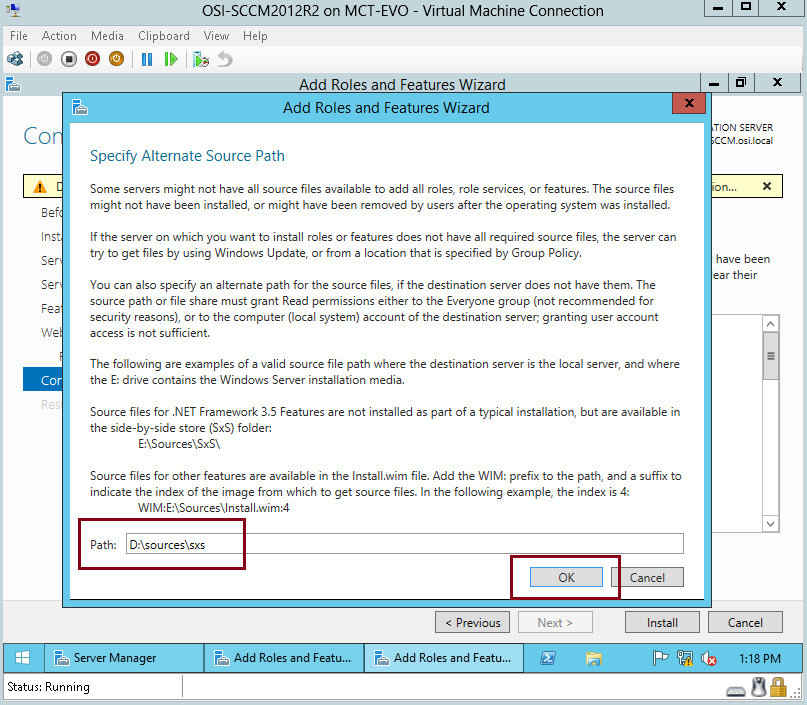
12 – Verify that you had insert Windows Server 2012 R2 installer in the SCCM 2012 member server, on the Specify Alternate Source Path interface, in the path column, type your installer Windows Server 2012 R2 drive (D:\sources\sxs) and then click OK…
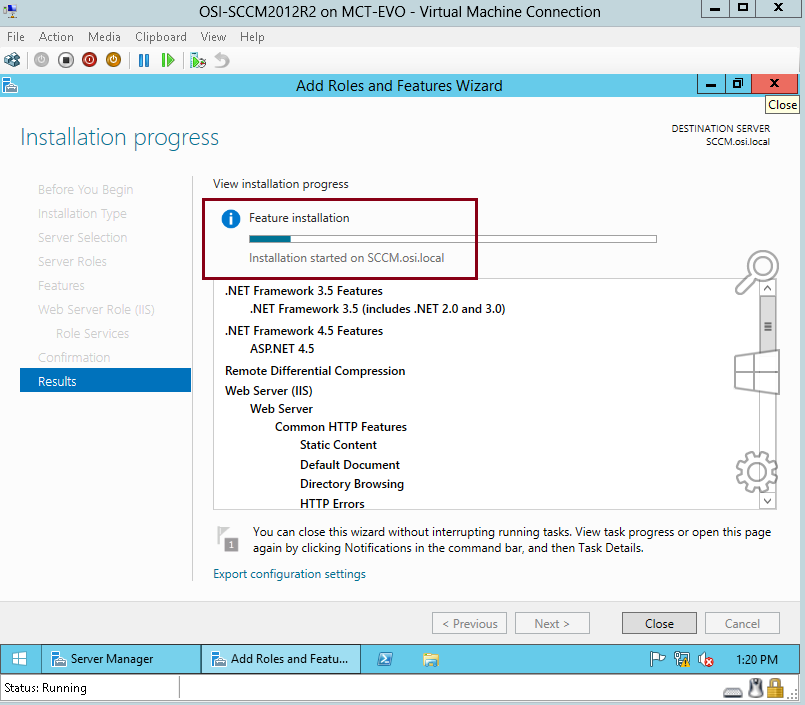
13 – On the Confirm installation selections interface, click Install…
14 – Wait for few minutes to lets the installation complete…
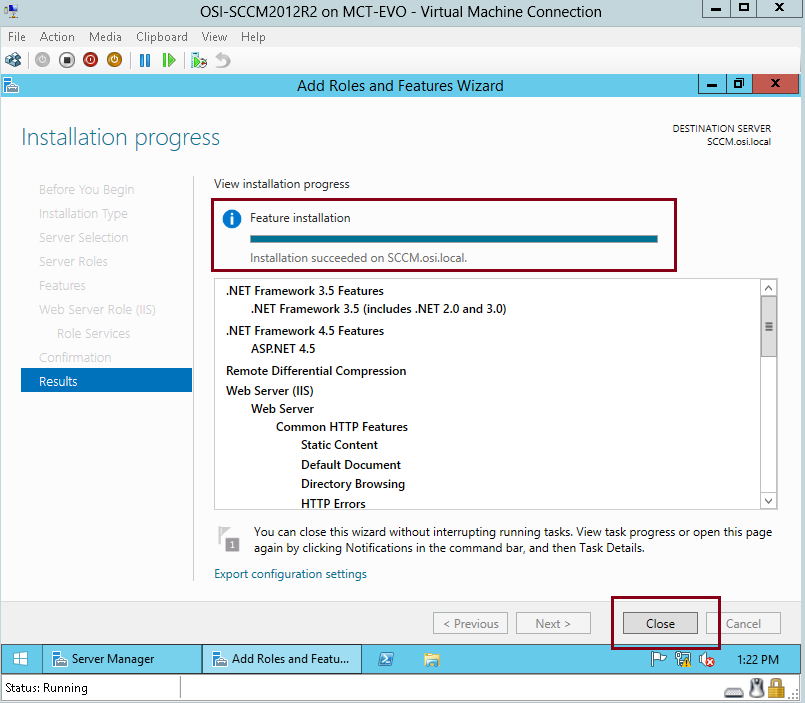
15 – Once the installation complete, click Close….
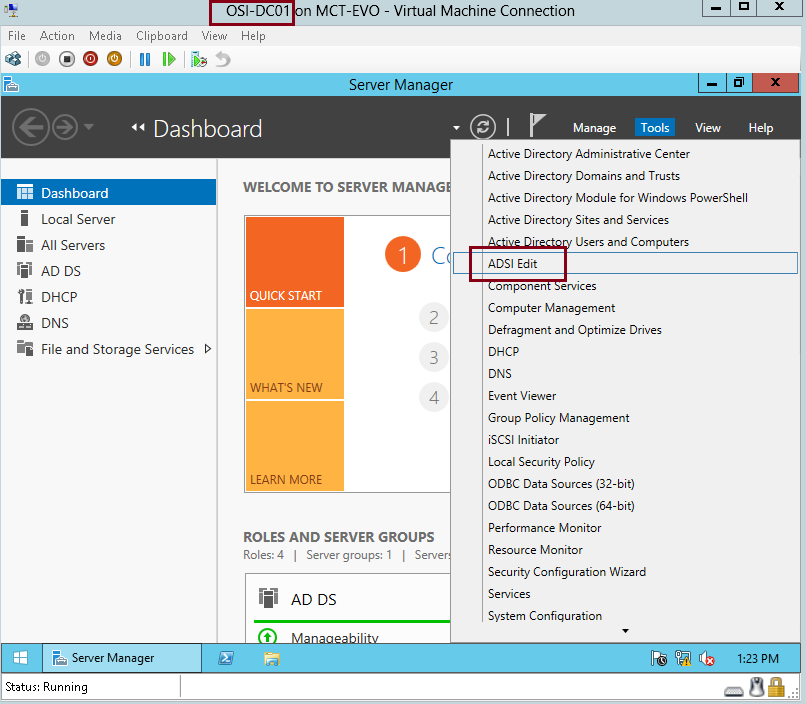
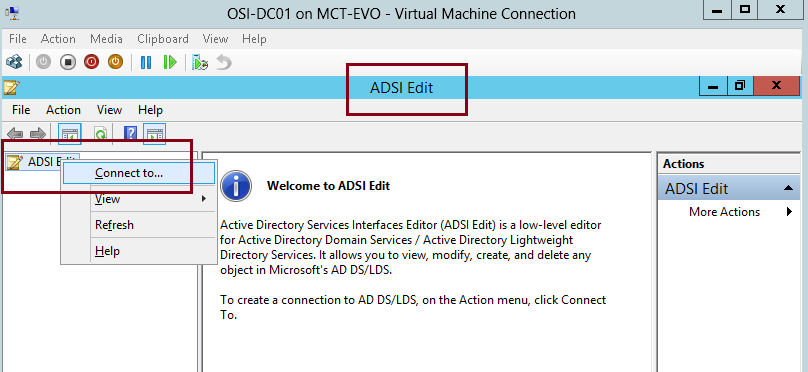
16 – Switch to Domain Server (OSI-DC01), open Server Manager and then click Tools, and click ADSI Edit…
*** We going to use ADSI Edit to create System Management Container, Active Directory schema does not create this container automatically so we to create the System Management Container manually.***
17 – In the ADSI Edit console, right click ADSI Edit and click Connect…
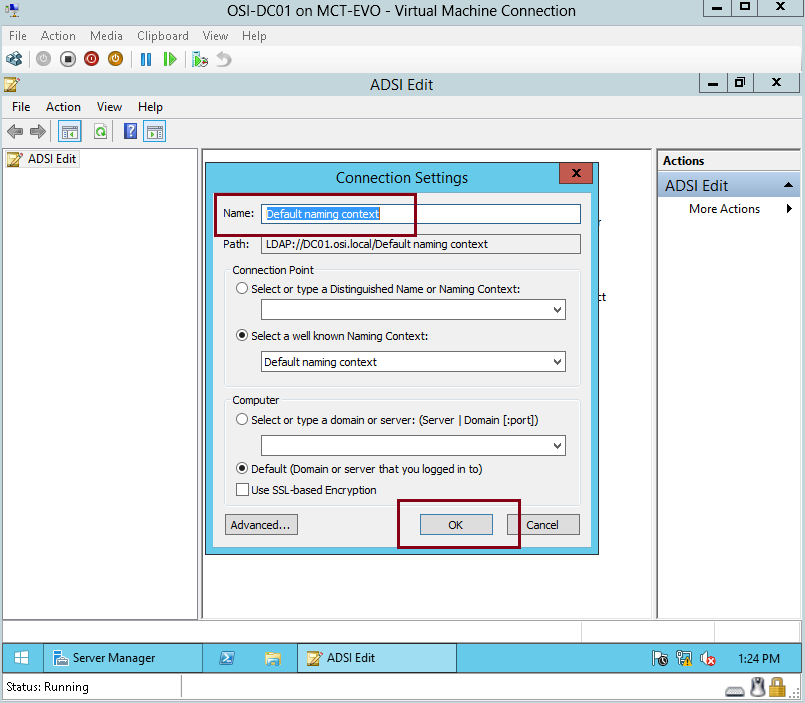
18 – In the Connection Settings box, verify that Default naming context is selected and then click OK…
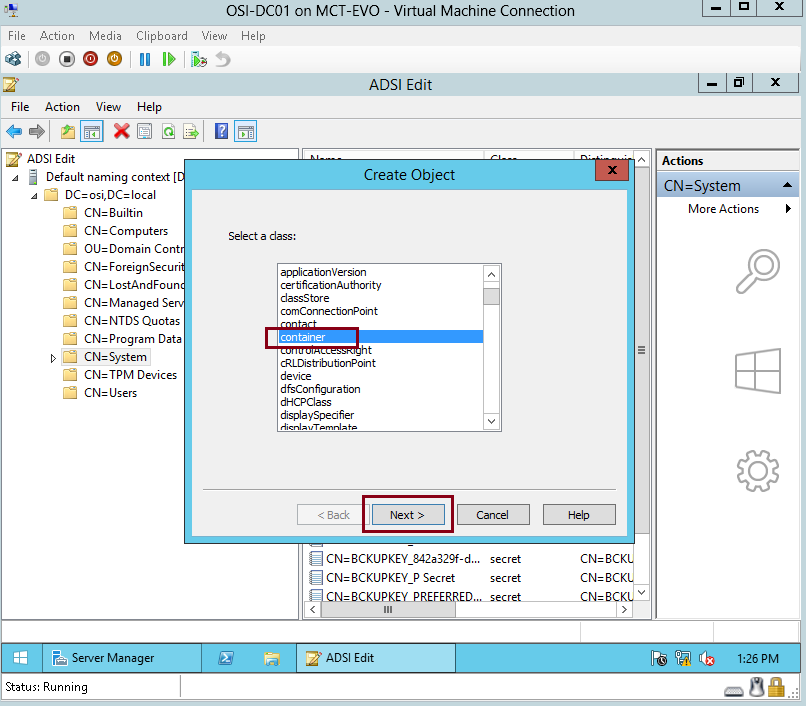
19 – browse to CN=System container, right CN=System, click New and choose Object…

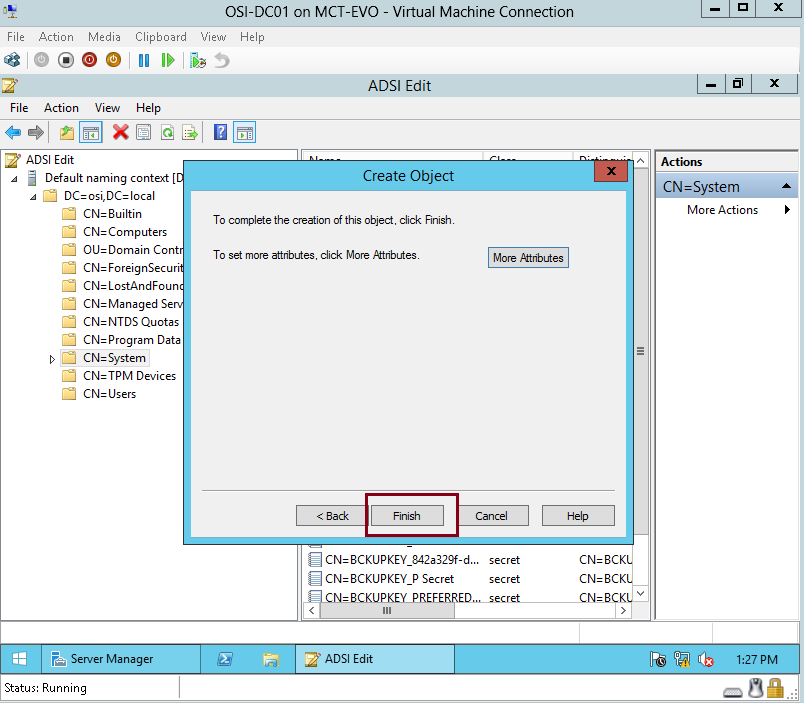
20 – In the Create Object box, click container and then click Next…
21 – in the Value, type System Management and then click Next…
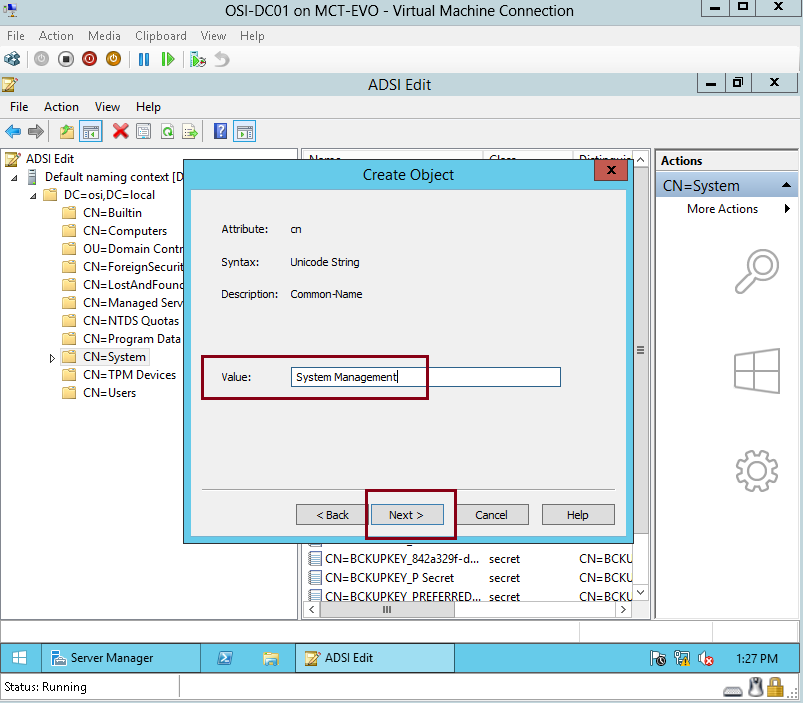
22 – Click Finish to complete the process…
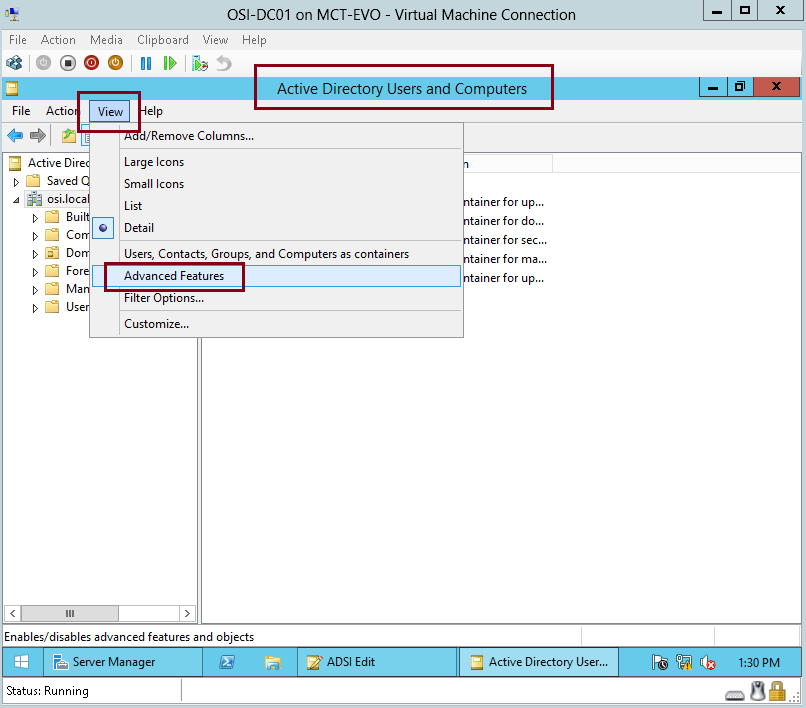
23 – Next, open Active Directory Users & Computers, click View and then click Advanced Features…
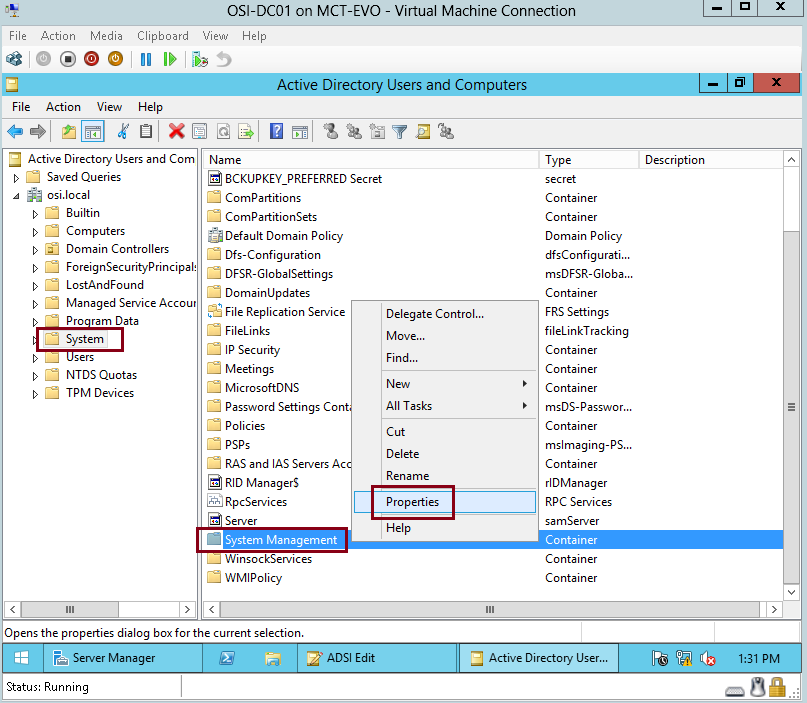
24 – Click System, right click System Management folder and then click Properties…
25 – On the System Management Properties box, click Add and then click Object Types…
*** What are we going to do here is to configure permissions on the System Management container.***
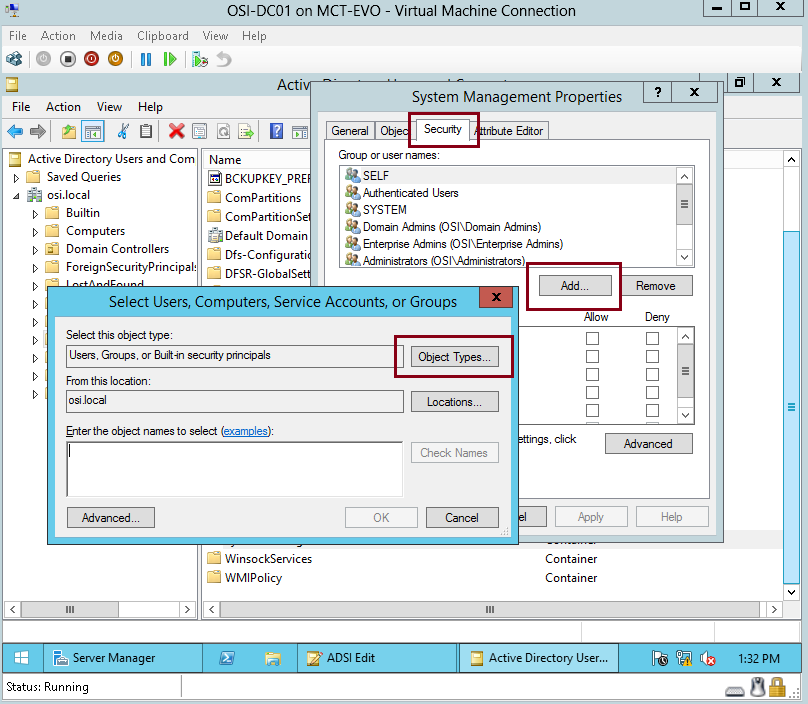
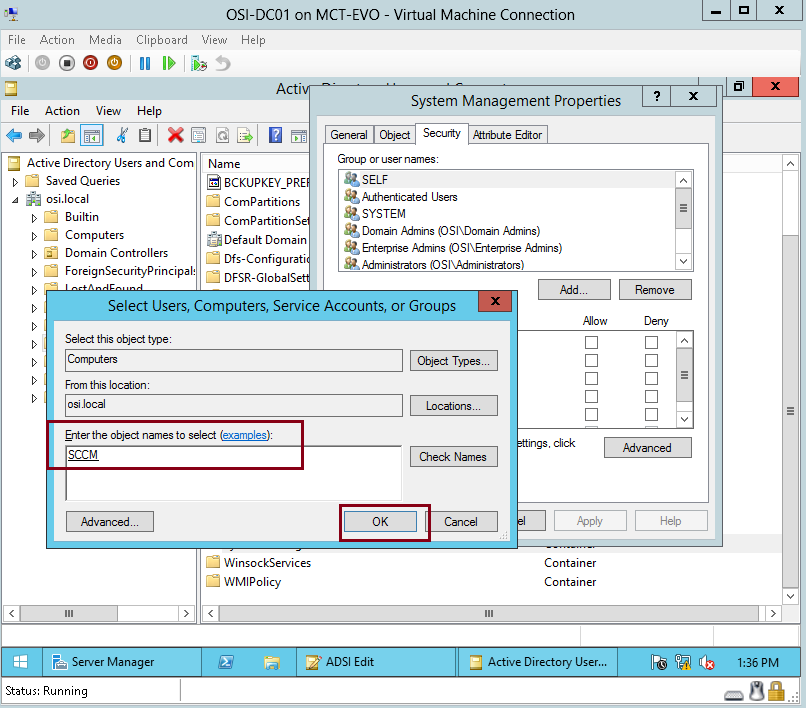
26 – On the Object Types interface, just click Computers and then click OK…

27 – On the Select Users, Computer, Service Accounts, or Group interface, type SCCM (this is our SCCM member server) and then click OK…
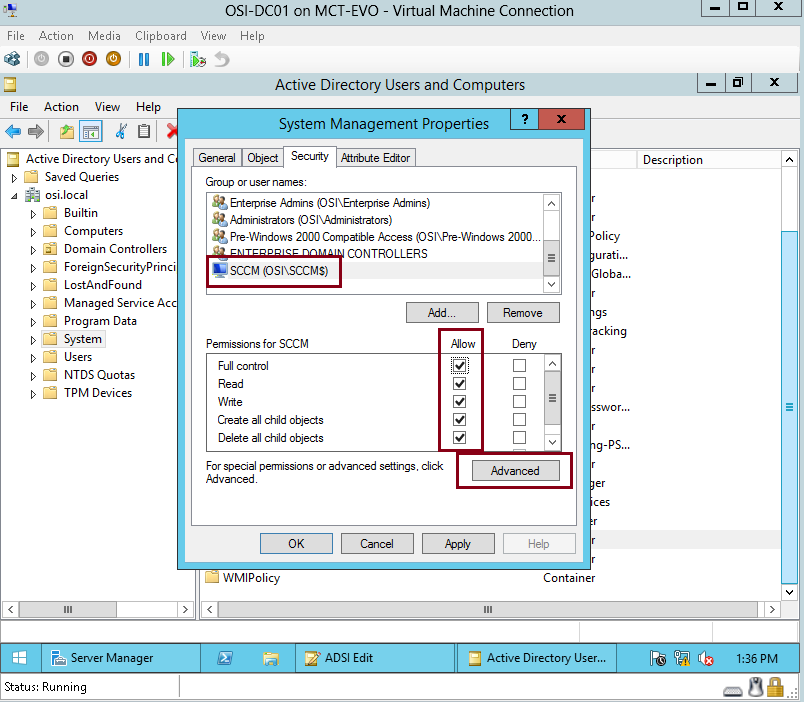
28 – On the System Management Properties interface, click SCCM (OSI\SCCM$) and click Full Control under Permissions of SCCM and then click Advanced…
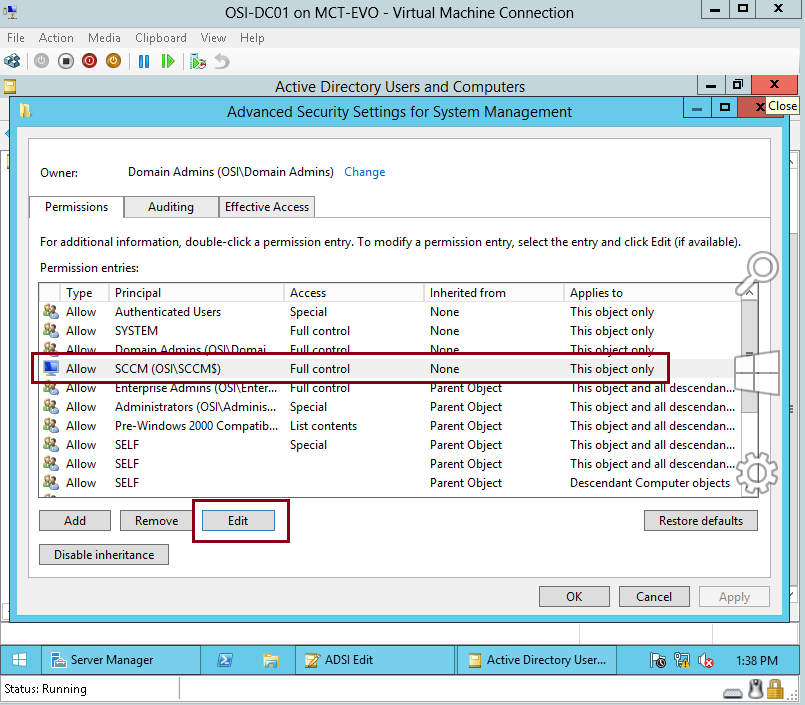
29 – On the Advanced Security Settings for System Management interface, under Permission Entries:, click Allow SCCM (OSI\SCCM$) and then click Edit…
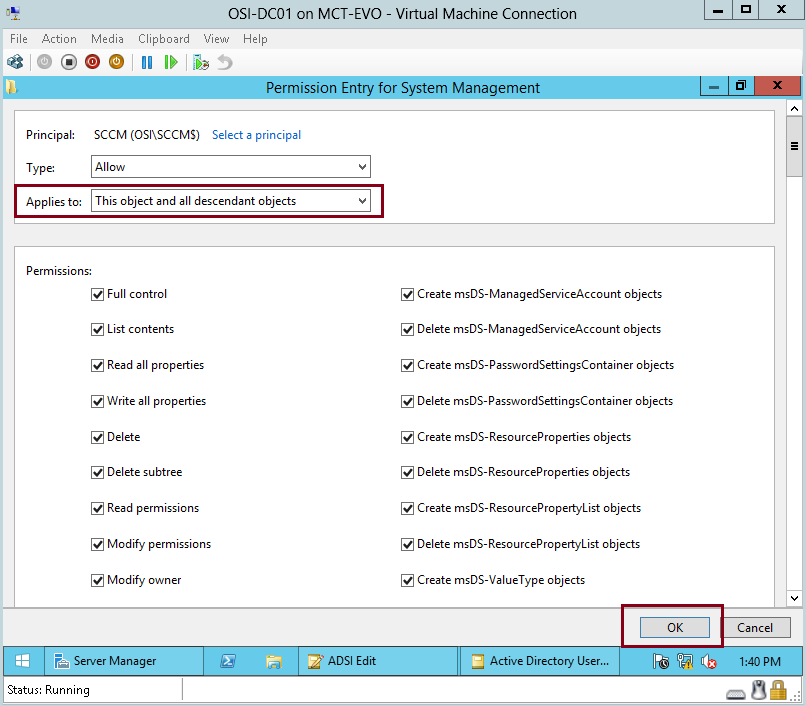
30 – On the Permissions Entry for System Management interface, verify that you choose Applies to: This object and all descendant objects and then click OK…
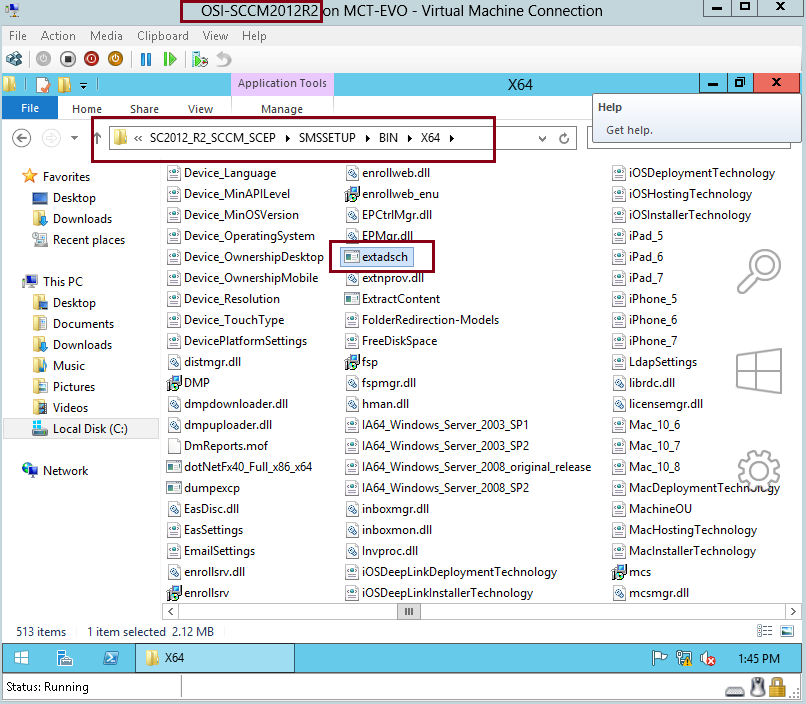
31 – Now switch back to SCCM server, and browse to SCCM installation folder which is SMSSetup\Bin\X64, then click extadsch file…
*** This extadsch file will extend the AD DS schema***
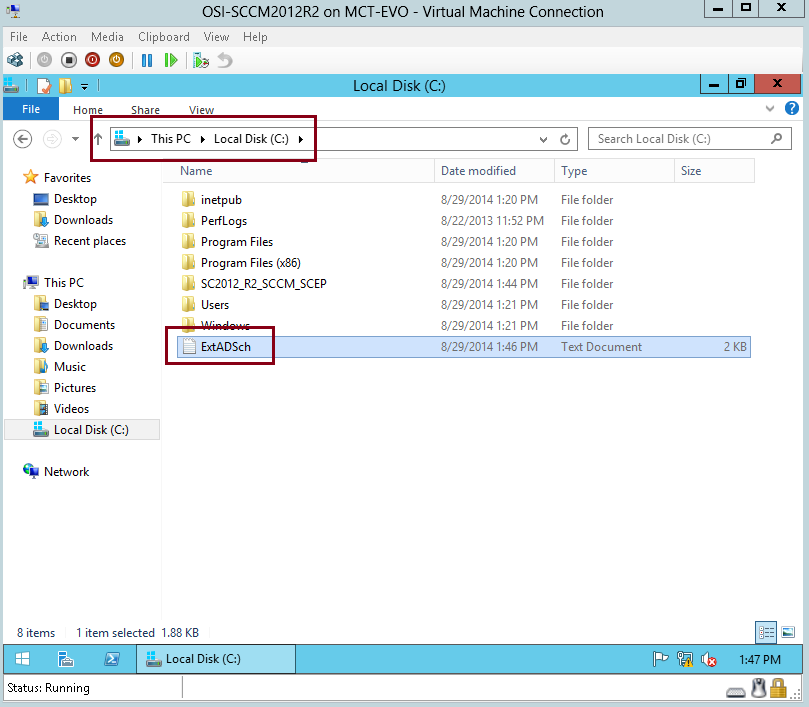
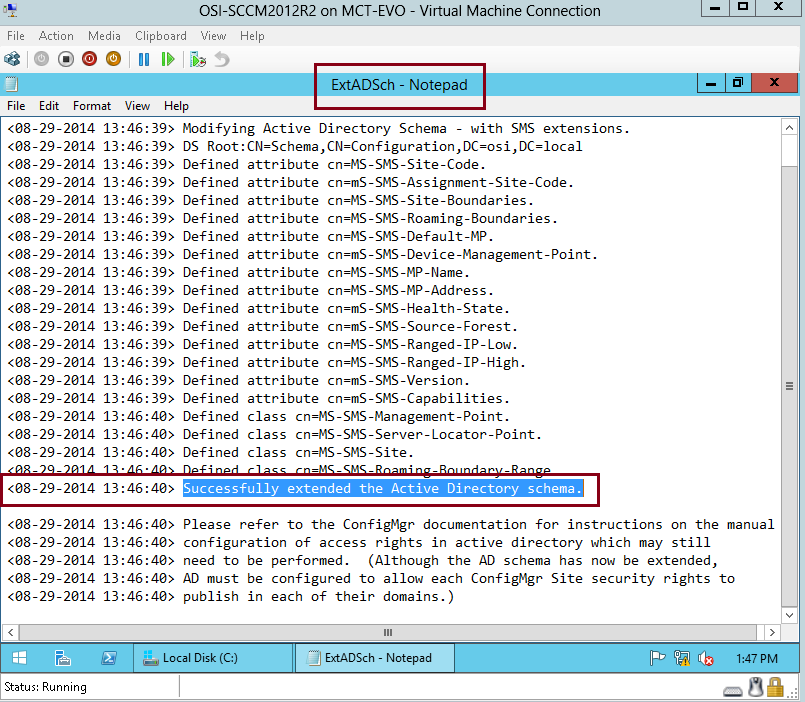
32 – Open C: Drive, and locate & open the ExtADSch.txt file …
33 – Verify that AD Schema extended process successful…
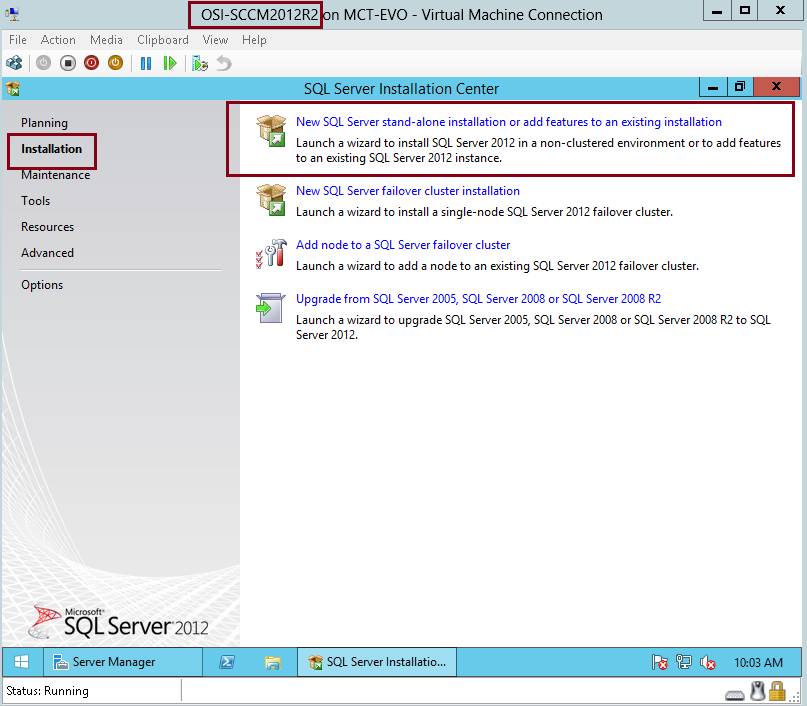
34 – Next Step, we need to install the SQL Server as per prerequisites, for this demo i will be using SQL Server 2012…
Mount the SQL Server 2012 Installer to SCCM Server…
On the SQL Server Installation Center interface, click New SQL Server stand-alone installation or add features to an existing installation…
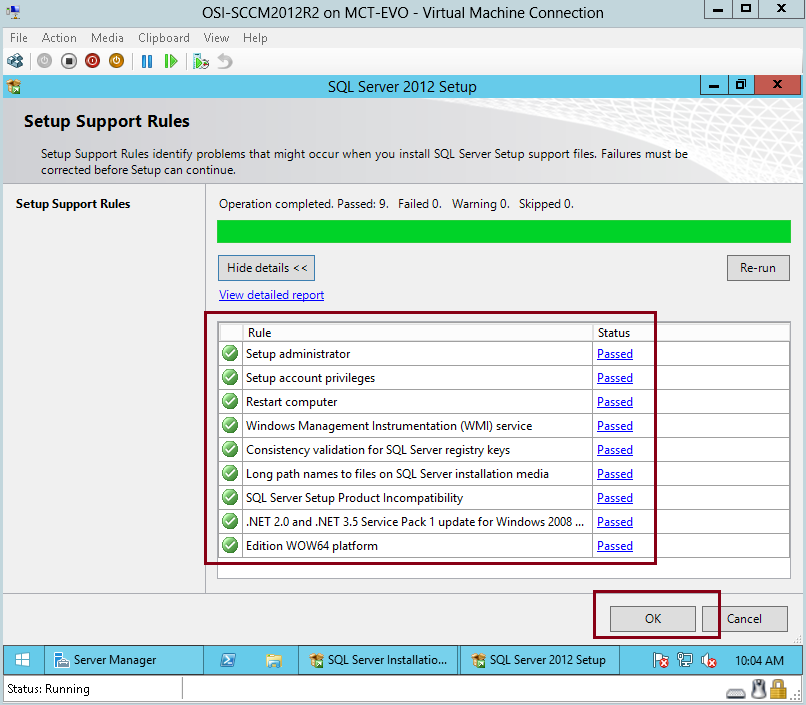
35 – Verify that on the Setup Support Rules interface, all the prerequisites listed as Passed, and then click OK…
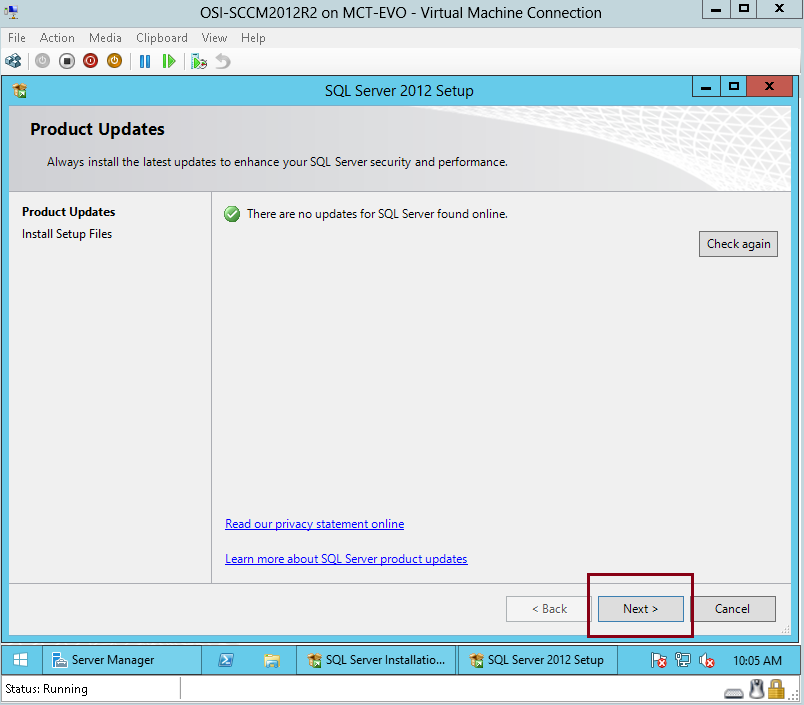
36 – On the Product updates interface, click Next…
*** i recommend that you do full Windows Update on the SCCM server so that you face any issue on the SQL installation***
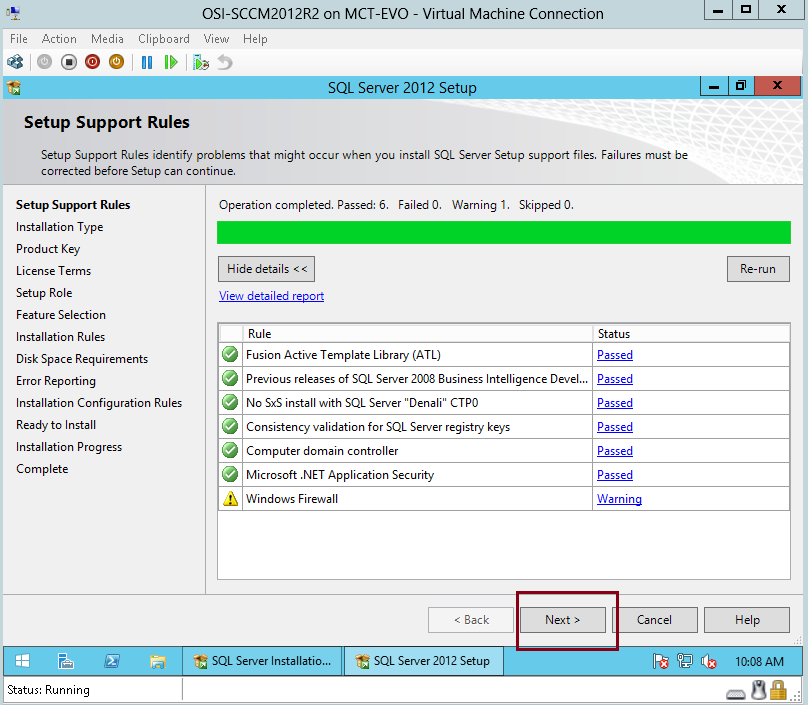
37 – On the Setup Support Rules interface, click Next…
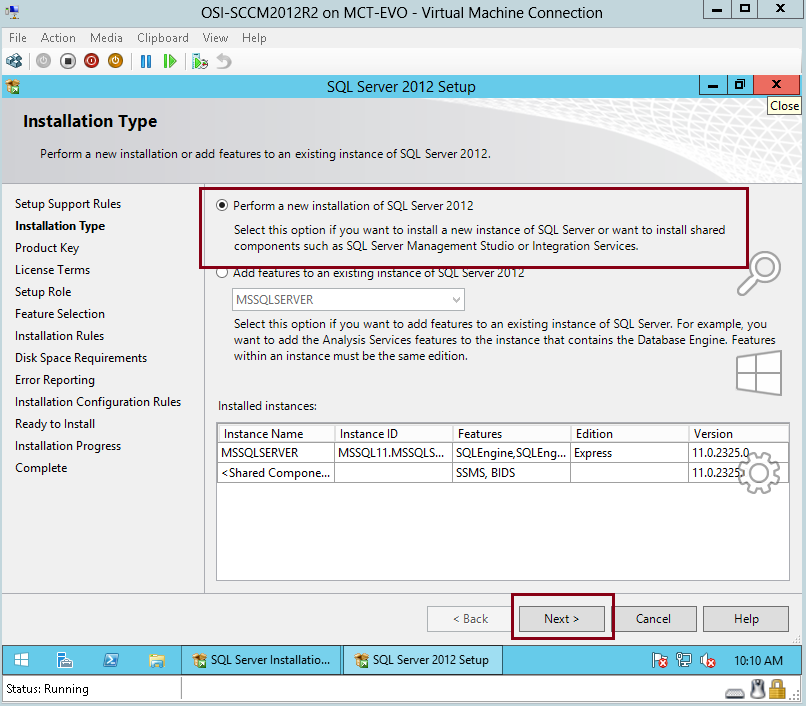
38 – On the Installation Type interface, click Perform a new installation of SQL Server 2012, and then click Next…
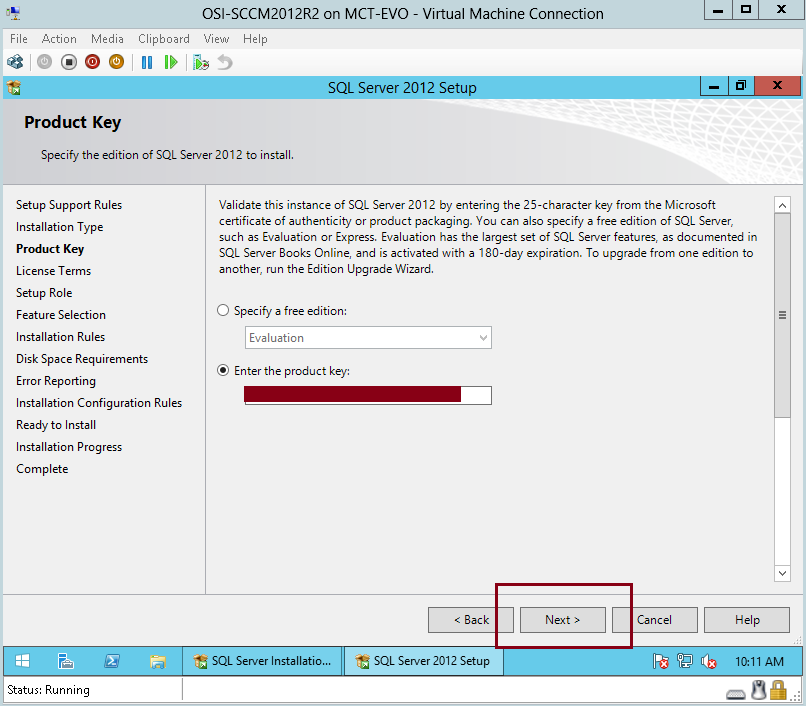
39 – On the Product key interface, key in your SQL Server 2012 product key and click Next…
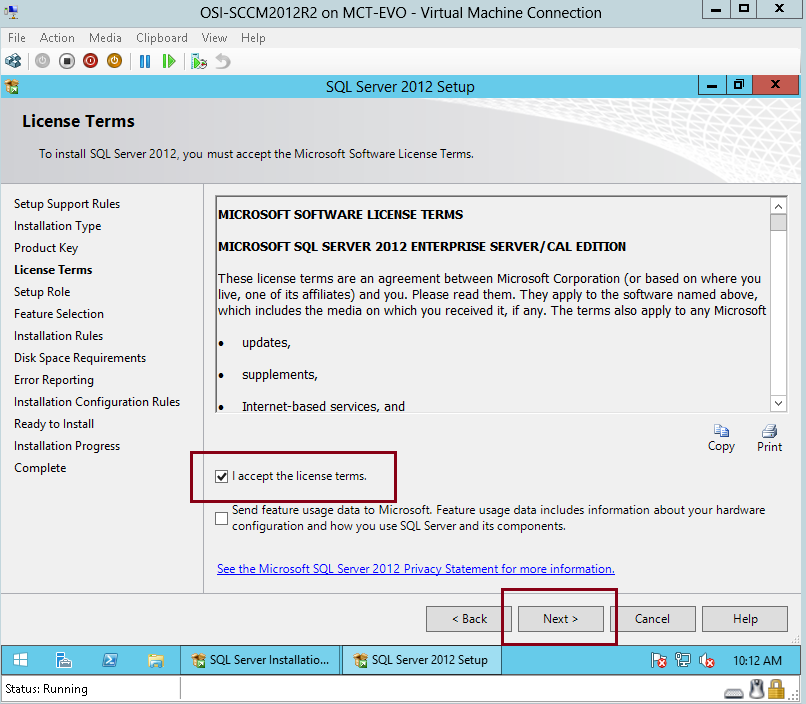
40 – On the License Terms interface, click I accept the license terms and then click Next…
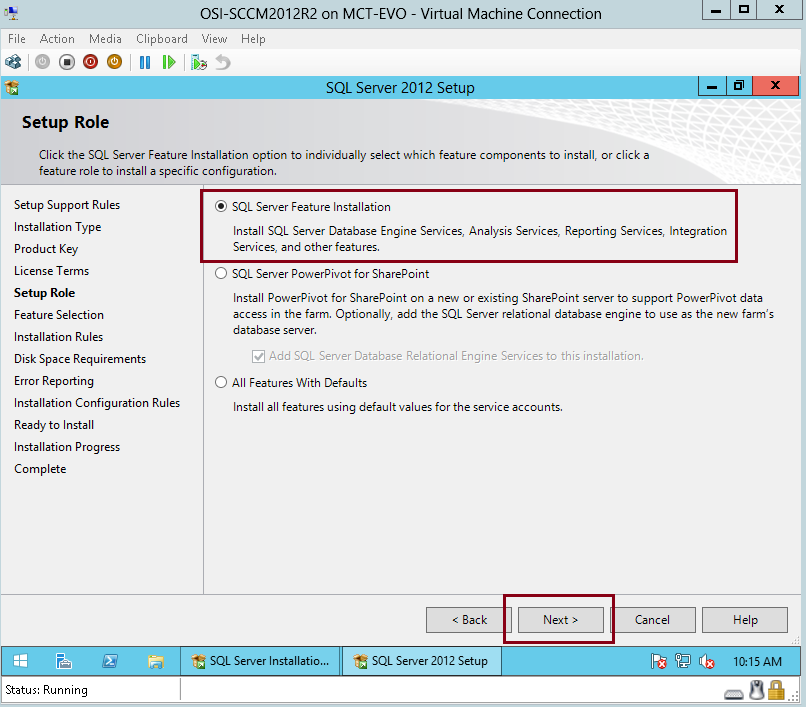
41 – On the Setup Role interface, click SQL Server Feature Installation and then click Next…
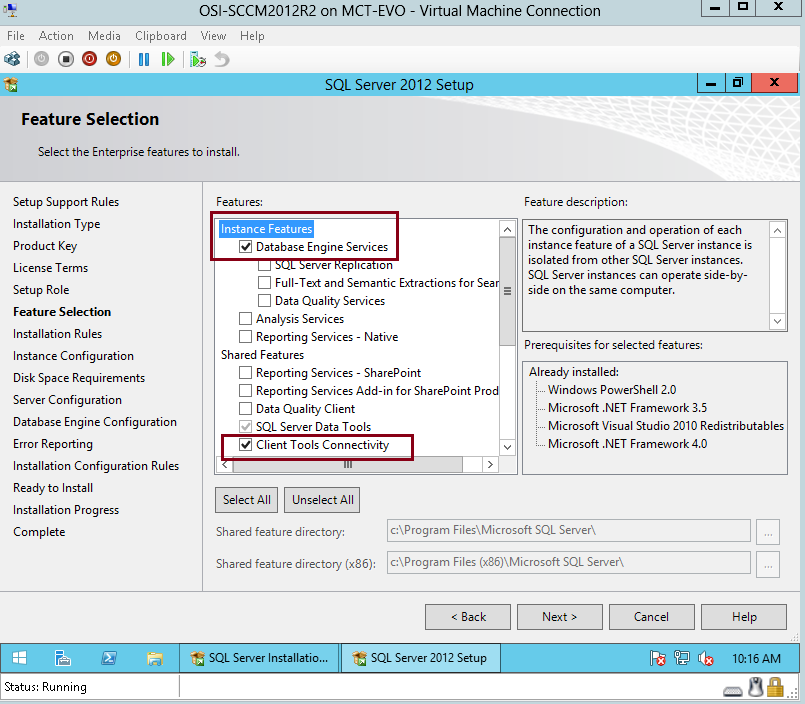
42 – On the Feature Selection interface, click Database Engine Services, Client Tools Connectivity and Management Tools – Complete, then click Next…

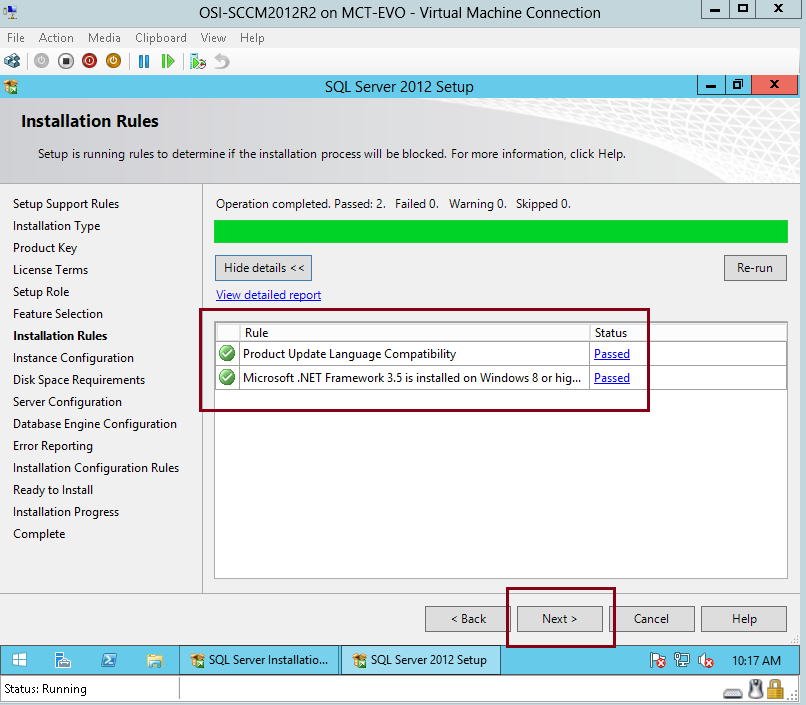
43 – On the Installation Rules interface, click Next…
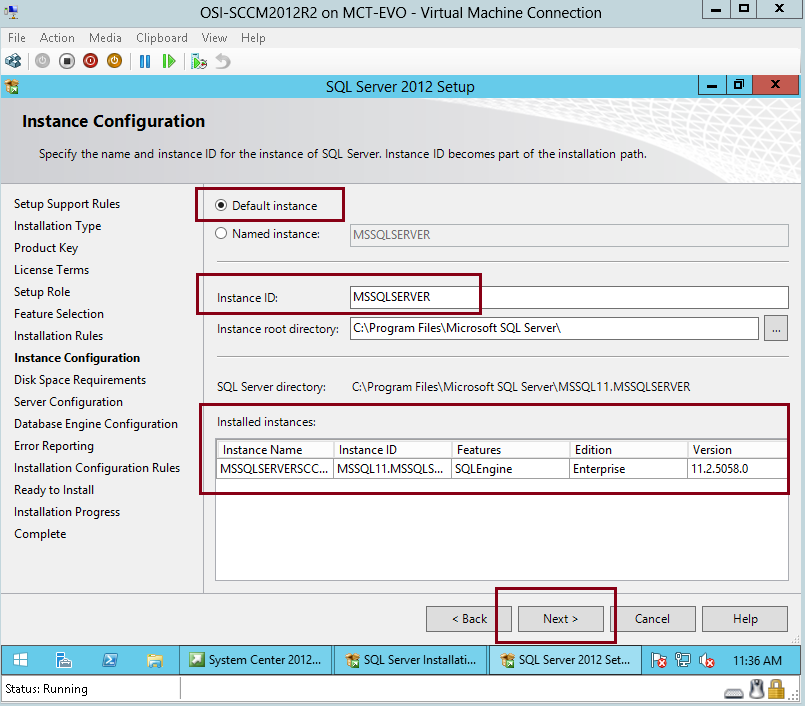
44 – On the Instance Configuration interface, click Default instance and then click Next…
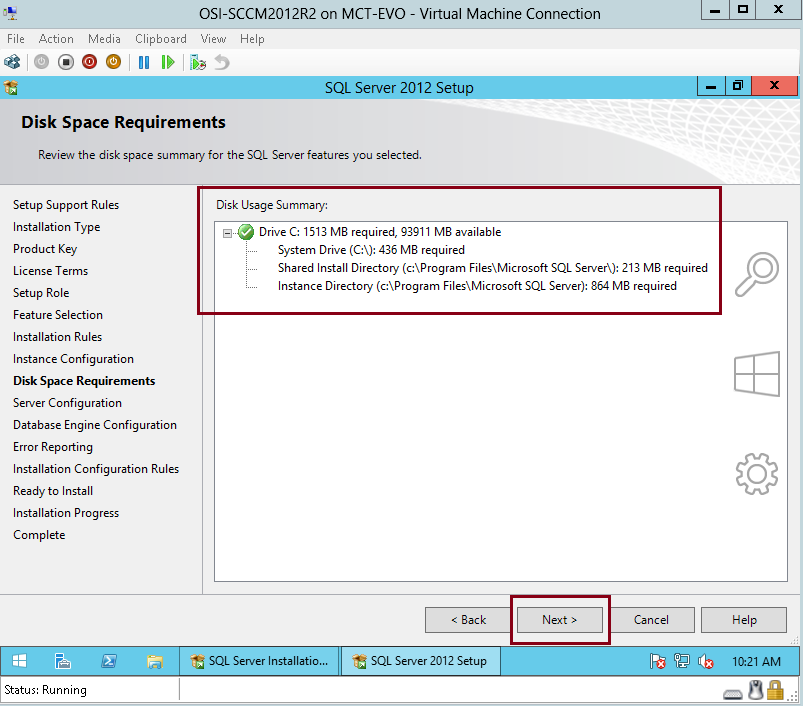
45 – On the Disk Space Requirements, click Next…
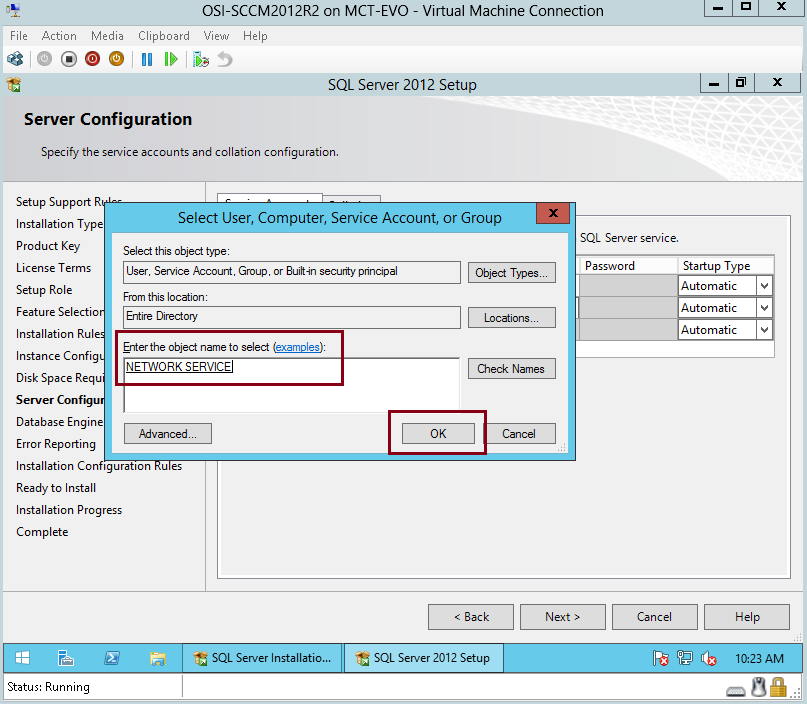
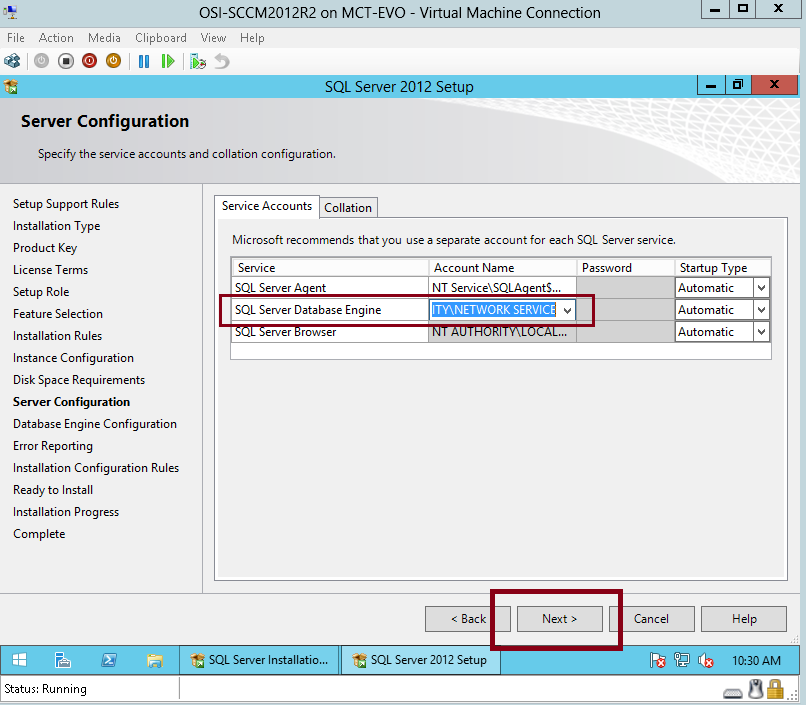
46 – On the Server Configuration interface, under Startup Type, verify that all startup set to Automatic, then click SQL Server Database Engine, under Account Name, click <<Browse…>>…
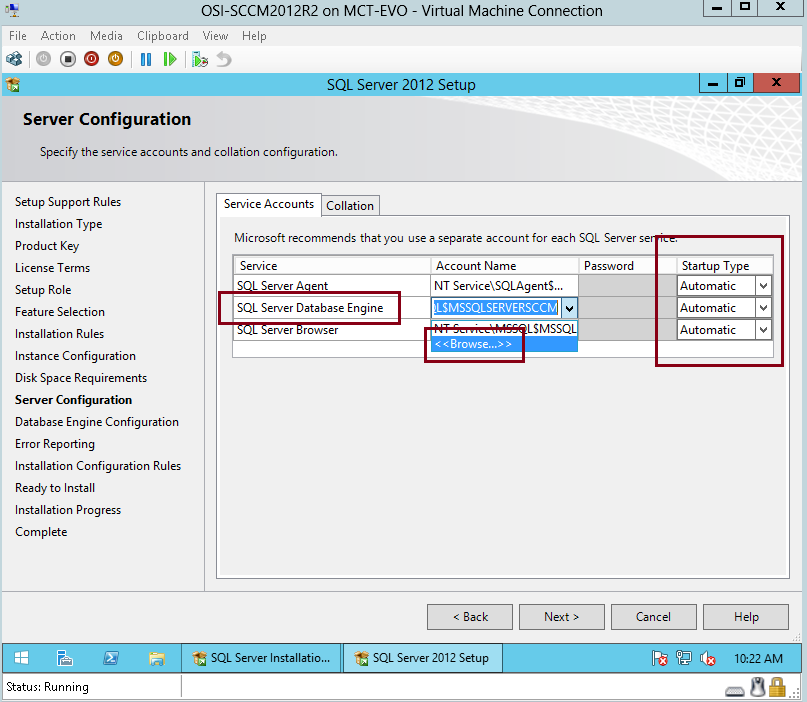
47 – Under Enter the object name to select, type Network Service and then click OK…
48 – click next to proceed…
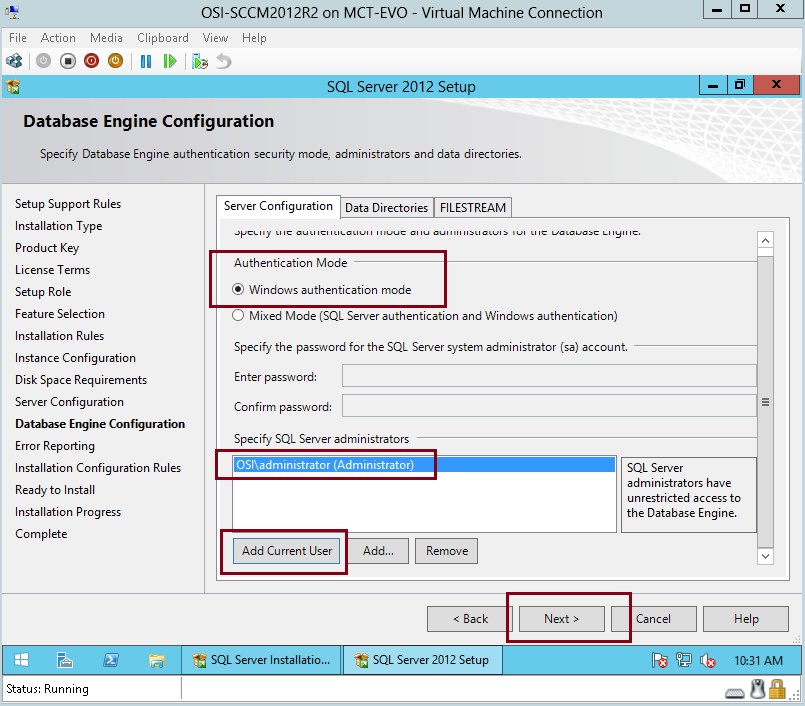
49 – On the Database Engine Configuration interface, verify that you click Windows authentication mode and click Add Current User, and then click Next…
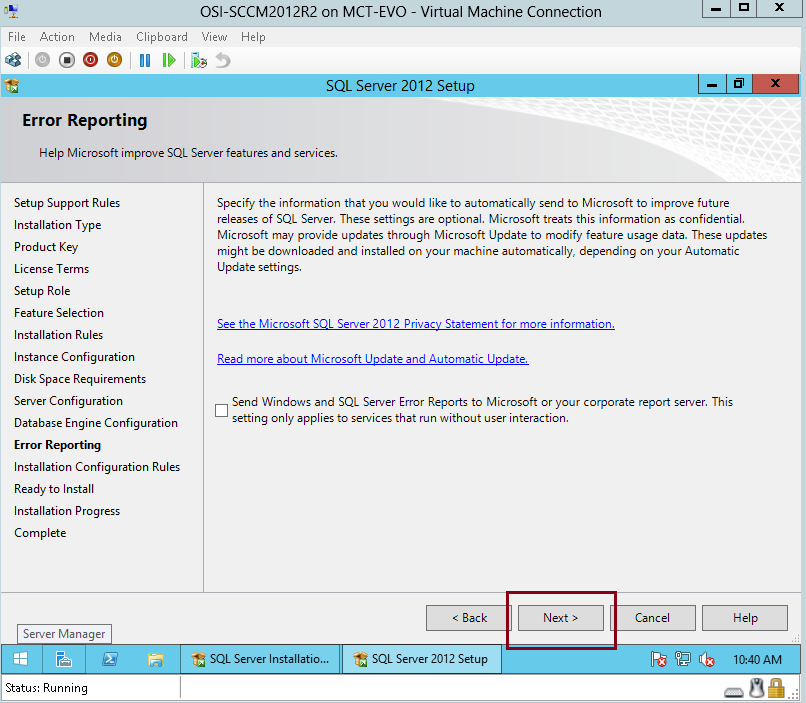
50 – On the Error Reporting interface, click Next…
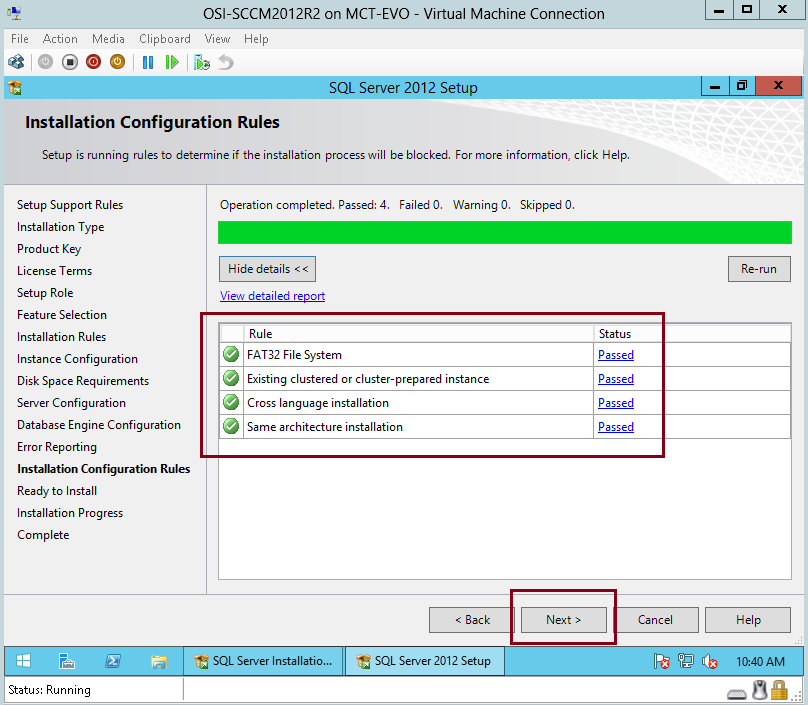
51 – On the Installation Configuration Rules interface, verify that all the rule status are passed and then click Next…
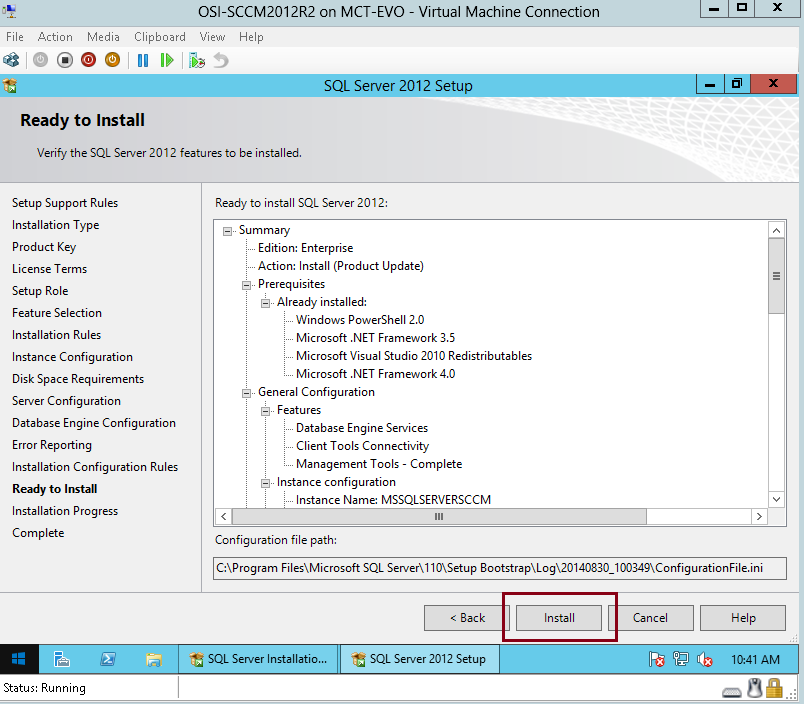
52 – On the Ready to Install interface, click Install…
53 – after few minutes, installation should complete and verify that the feature status is success and then click Close…

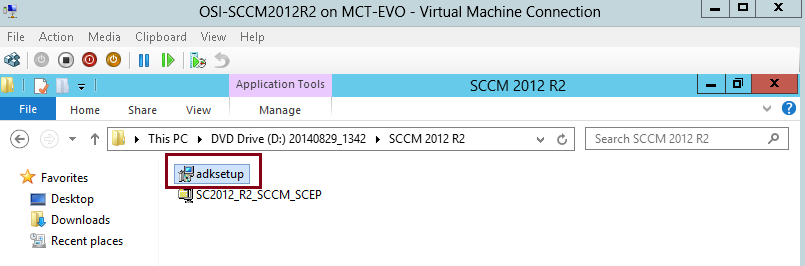
54 – Next, we need to install Windows Assessment and Deployment kit for Windows 8.1 (adksetup) in our SCCM server…
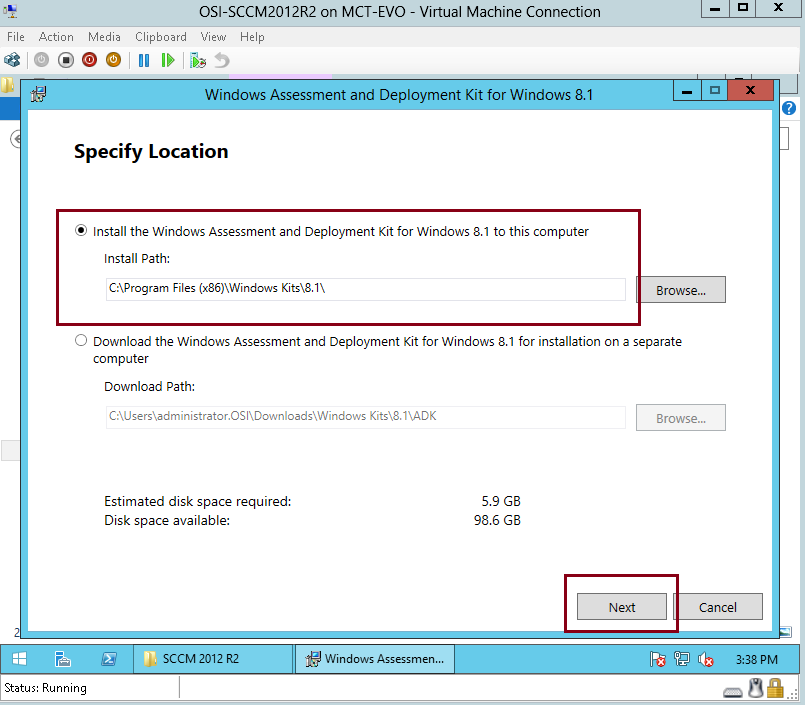
55 – On the Specify Location for the Windows Assessment and Deployment kit for Windows 8.1, click Install the Windows Assessment and Deployment kit for Windows 8.1 to this computer and then click Next…
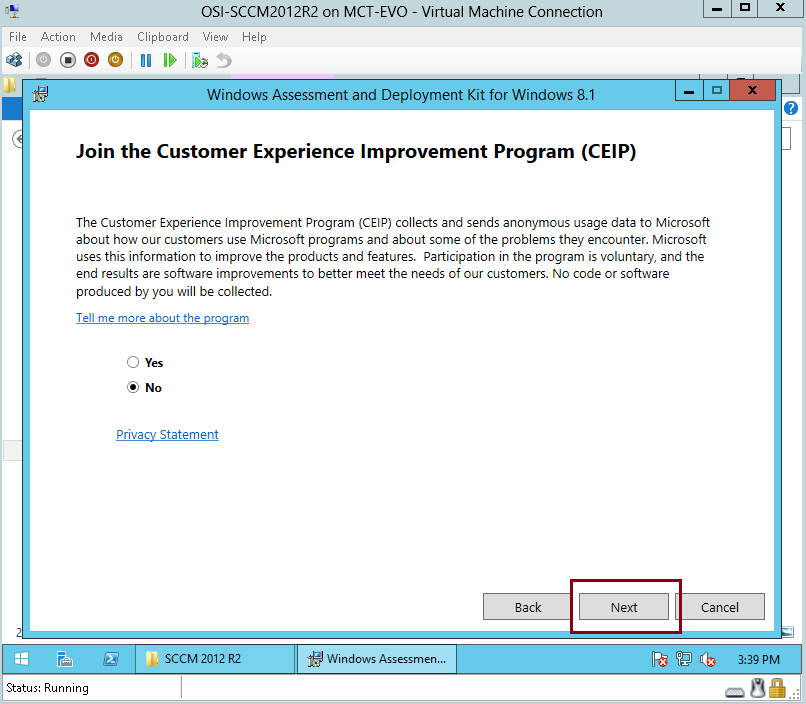
56 – Proceed with Next…
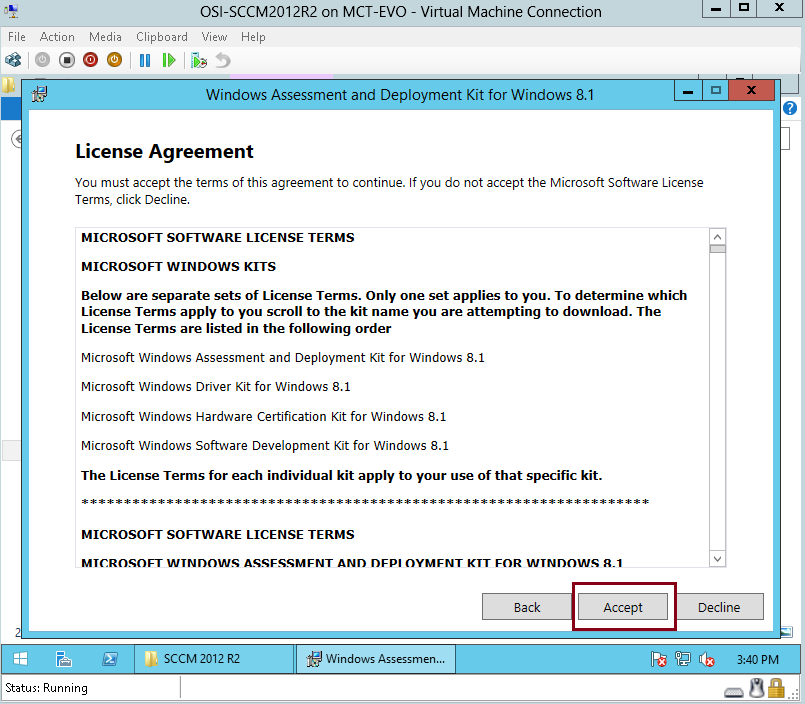
57 – On the License Agreement interface, click Next…
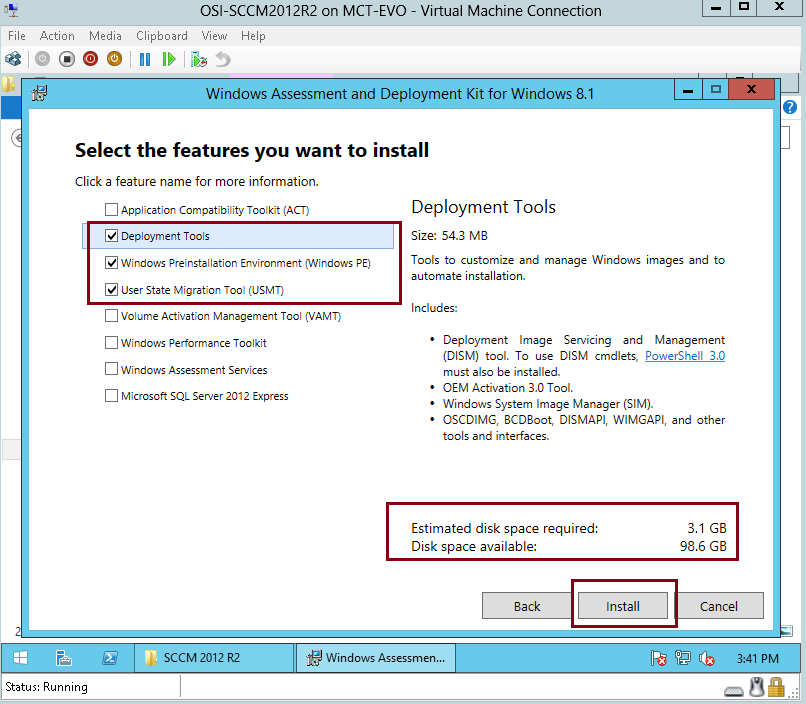
58 – On the Select the features you want to install interface, click Deployment Tools, Windows Preinstallation Environment (Windows PE) and User State Migration Tool (USMT) and then click Install…
*** For this step please be aware that you need internet connection on the SCCM server so that the setup will download all the require file to proceed with the next step.***
59 – Once the installation Windows Assessment and Deployment kit for Windows 8.1 setup complete, proceed with SCCM 2012 R2 installation.
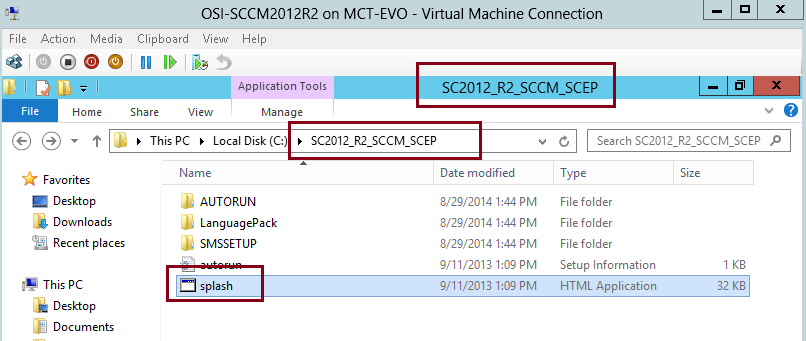
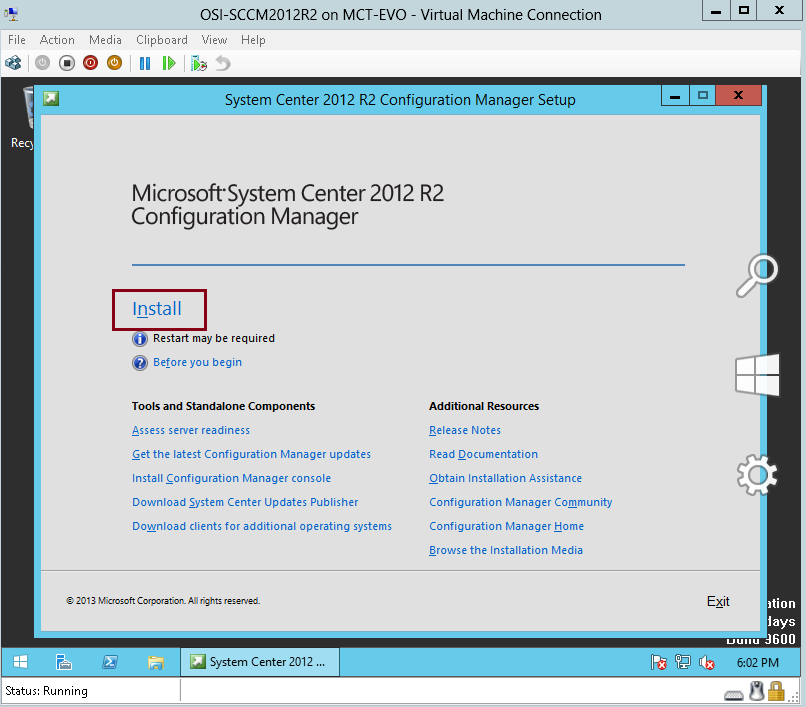
Mount the SCCM 2012 R2 installer, and then click splash file…
60 – On the Microsoft System Center 2012 R2 Configuration Manager interface, click Install…
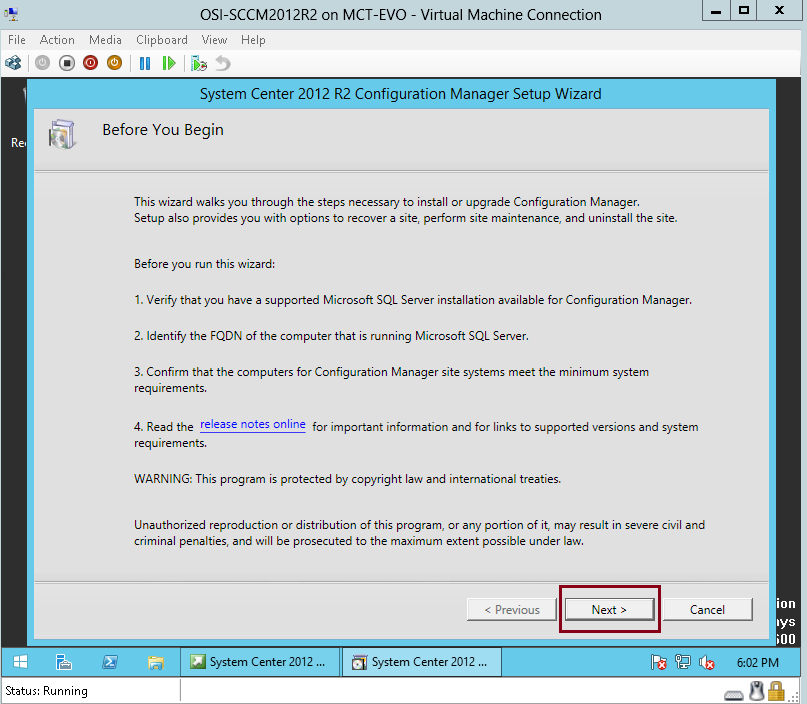
61 – On the Before You Begin interlace, click Next…
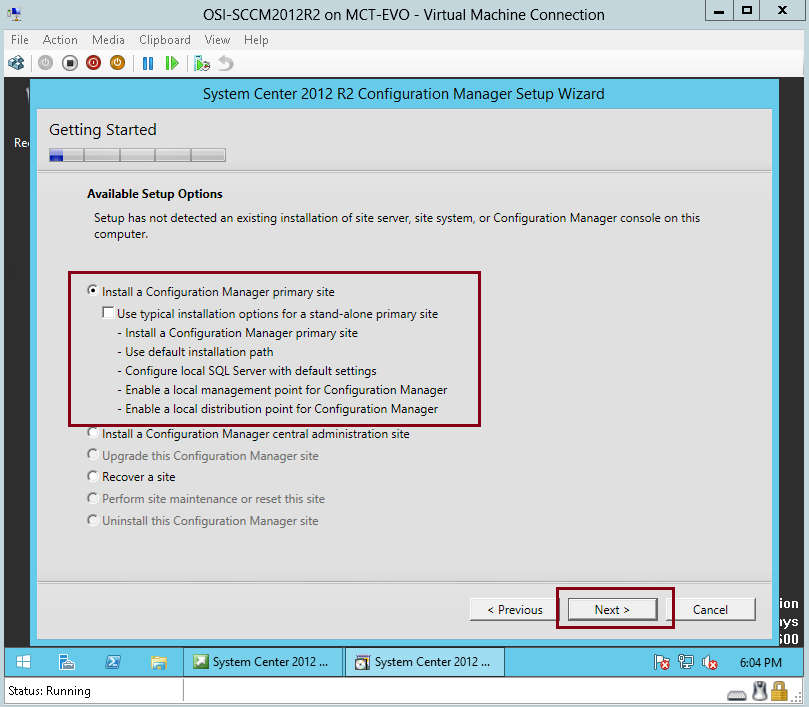
62 – On the Getting Started interface, verify that you click Install a Configuration Manager primary site, and then click Next…
63 – On the Product Key interface, click Next…

64 – On the Microsoft Software License Terms interface, click I accept these license terms and then click Next…

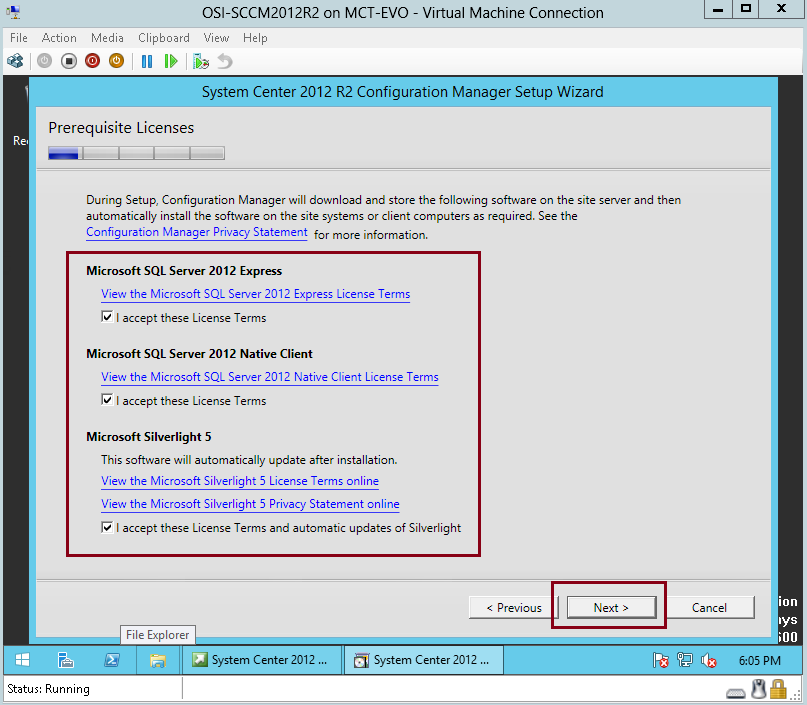
65 – On the Prerequisites Licenses interface, click all 3 boxes and then click Next…
66 – On the Prerequisites Download interface, click Download require files button and then click Next…
*** Please verify that your SCCM member server is connected to Internet.***
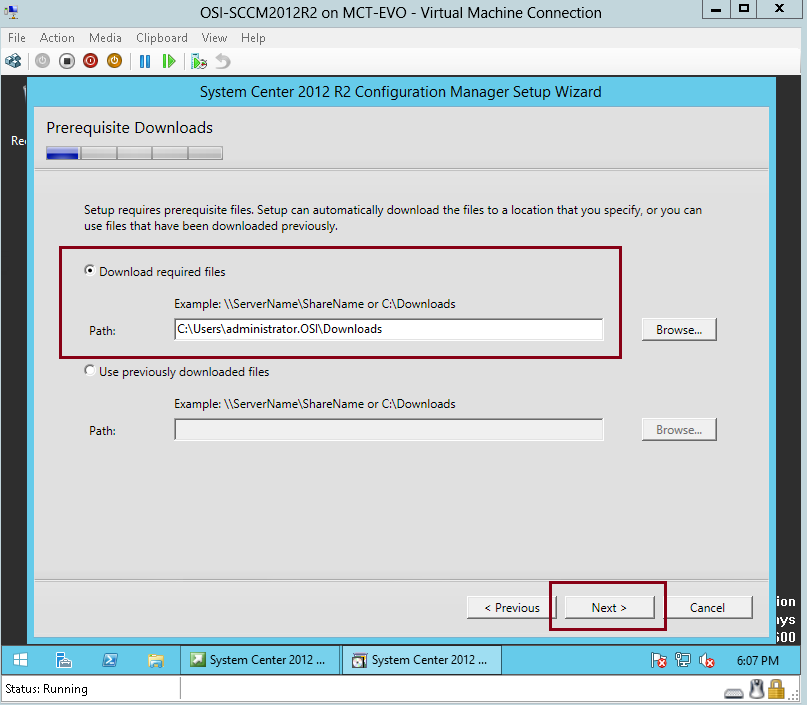
67 – wait few minutes for the download to complete…

68 – On the Database Information interface, click Next…
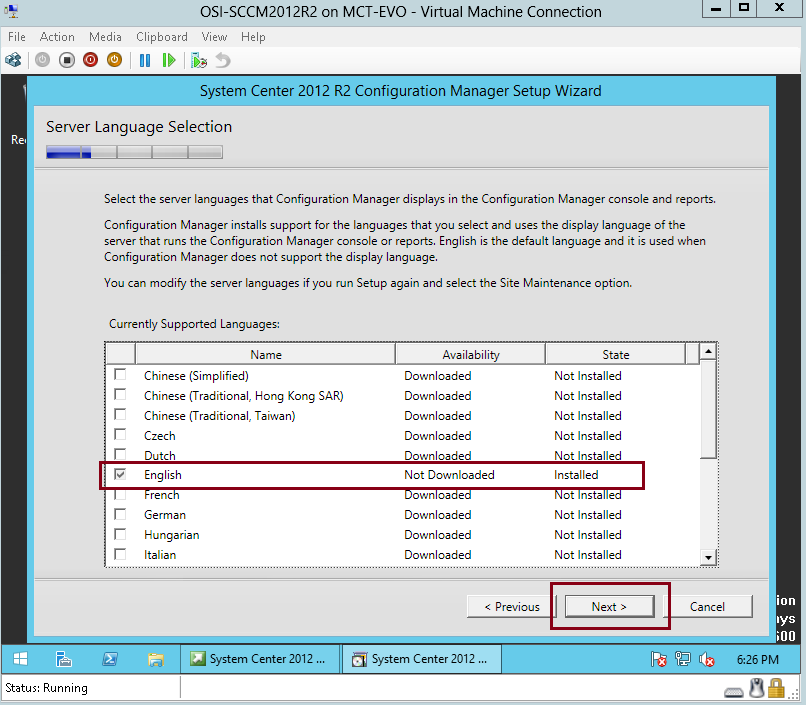
69 – On the Server Language Selection interface, English is selected, then click Next…
70 – On the Site and Installation Settings interface, in the Site Code:, type any unique site code for your SCCM, in this demo i key in OCM, in the Site name:, type the site name that will identify our SCCM site, for this demo i just type OSI SCCM, un-tick the Install the Configuration Manager Console and then click Next…

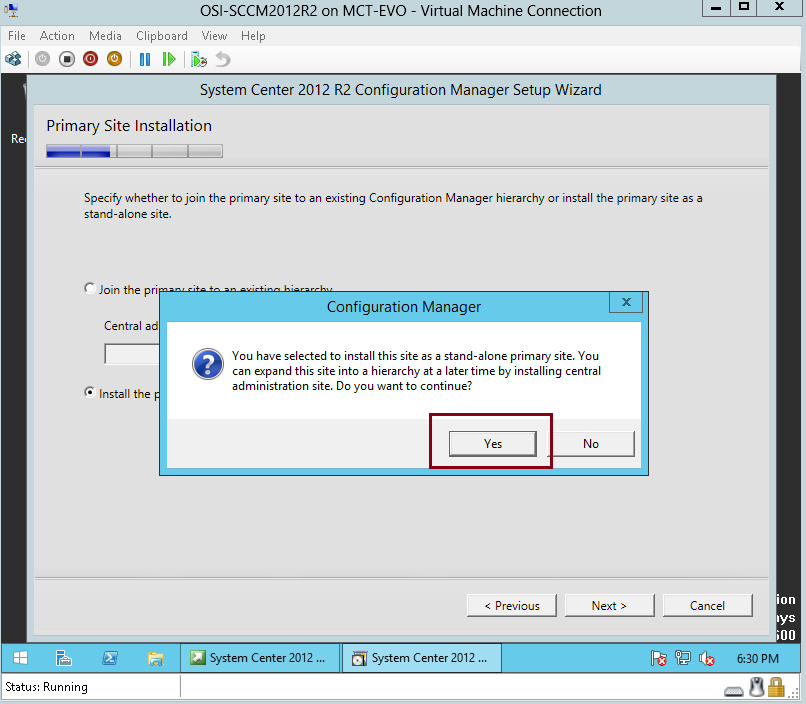
71 – On the Primary Site Installation interface, click Install the Primary site as a stand-alone site, and then click Next…
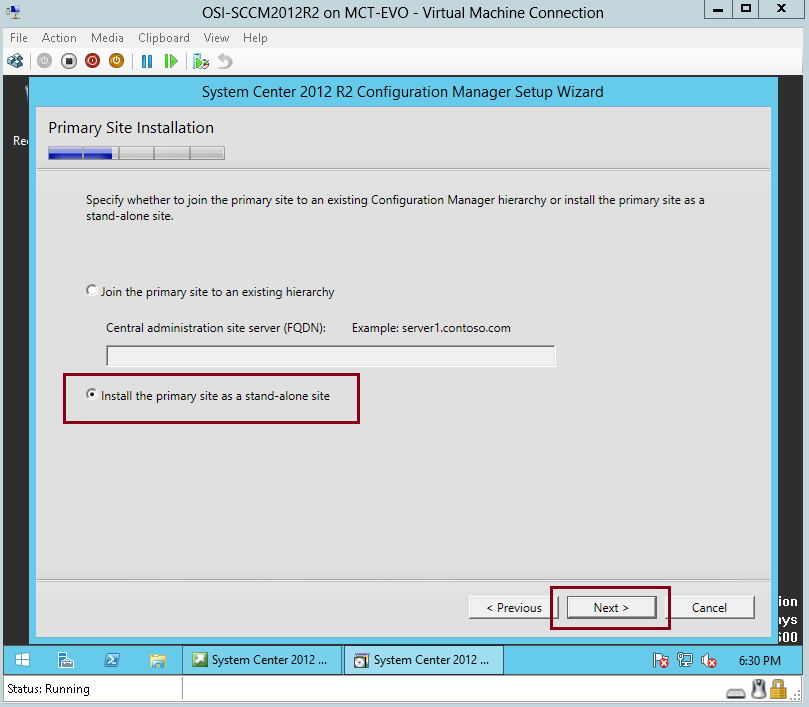
72 – click Yes…
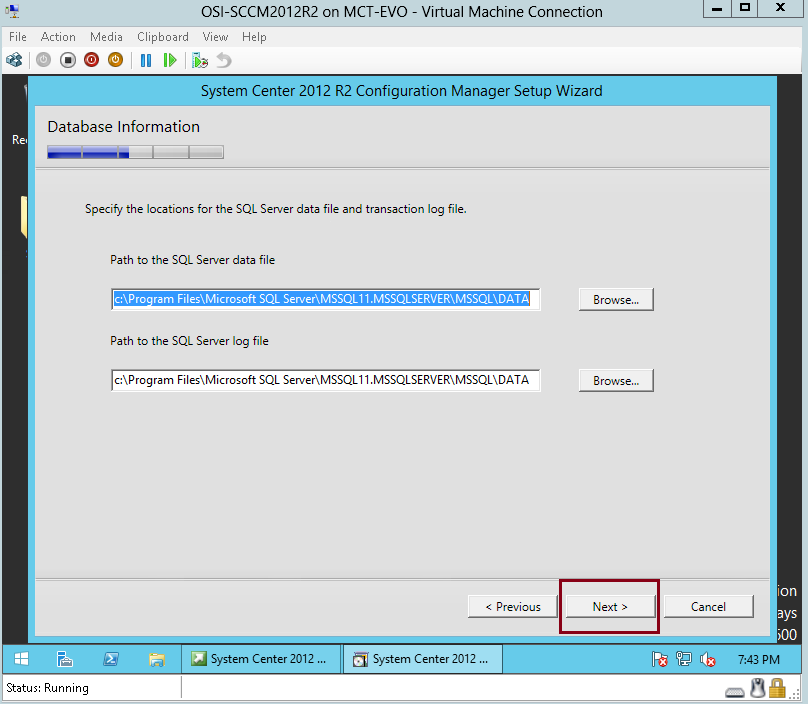
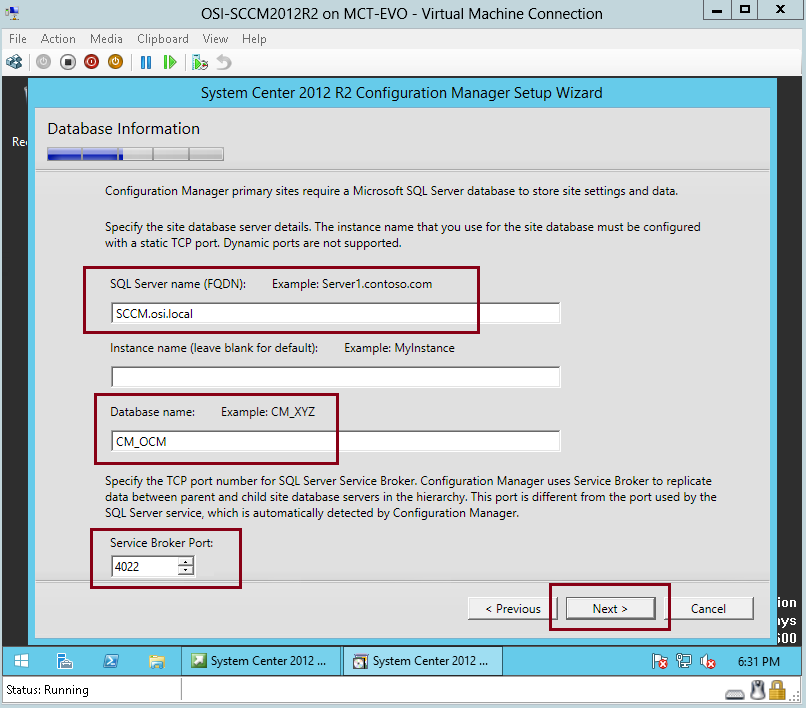
73 – On the Database Information interface, verify all the information is correct and then click Next…
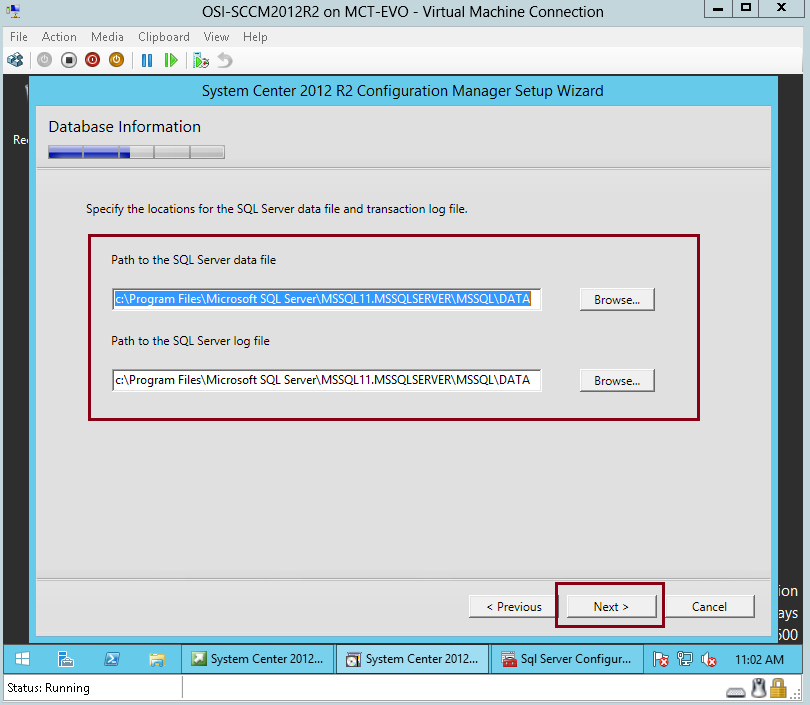
74 – Under specify the locations for SQL Server data file…, click Next…
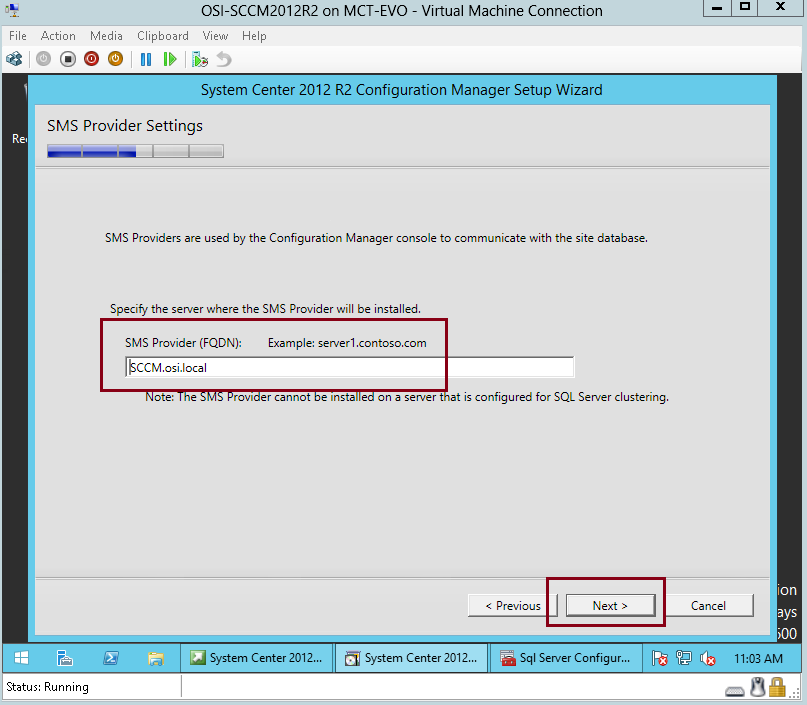
75 – On the SMS Provider Settings interface, verify the SMS provider (FQDN) is our SCCM server (SCCM.osi.local), and then click Next…
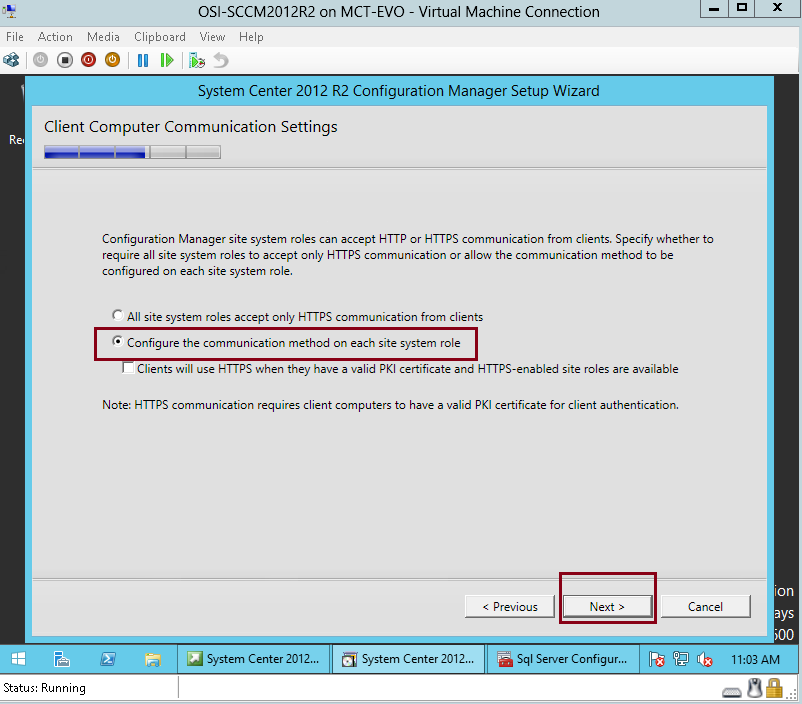
76 – On the Client Computer Communications Settings interface, click Configure the Communication method on each site system role, and then click Next…
77 – On the Site System Roles interface, verify that Install a management point and install a distribution point is selected and then click Next…

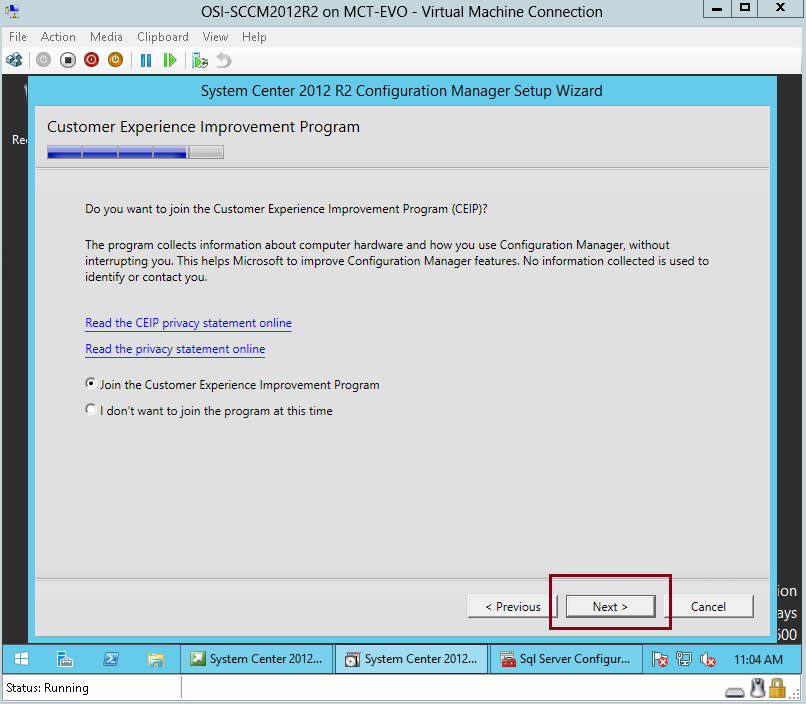
78 – On the Customer experience Improvement Program interface, click Next…
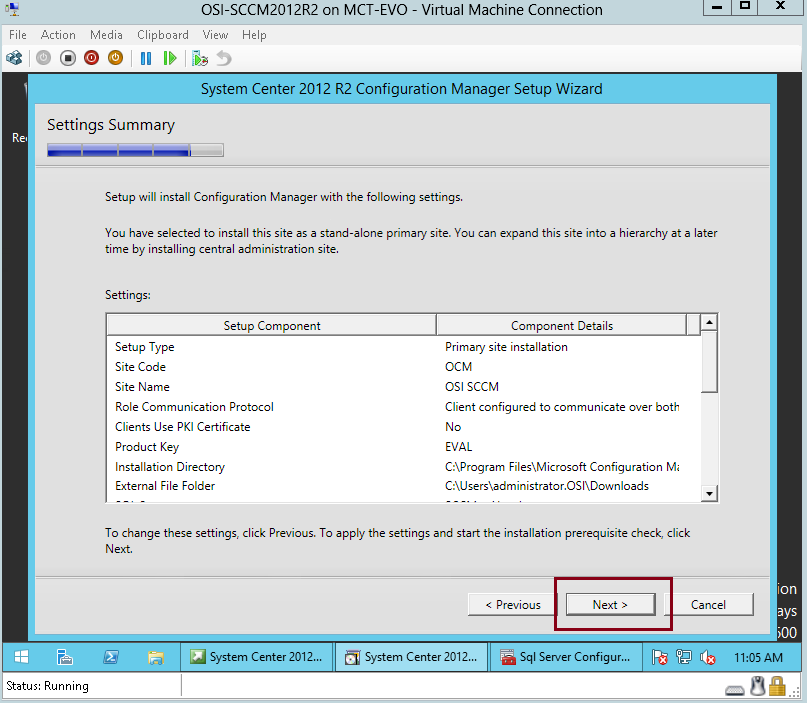
79 – On the Settings Summary interface, click Next…
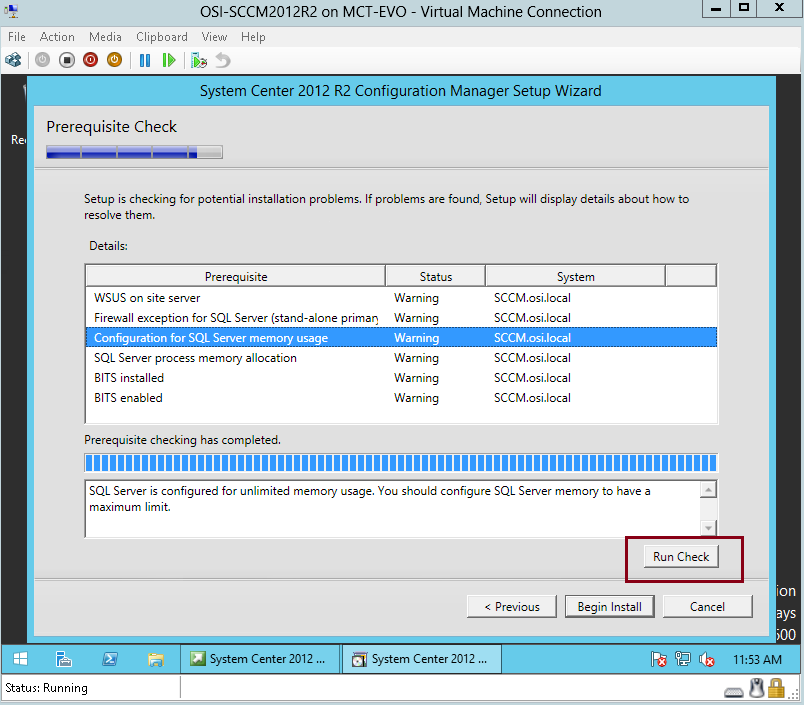
80 – On the Prerequisite Check interface, before you click Begin install, please verify the warning for SQL Server memory usage…
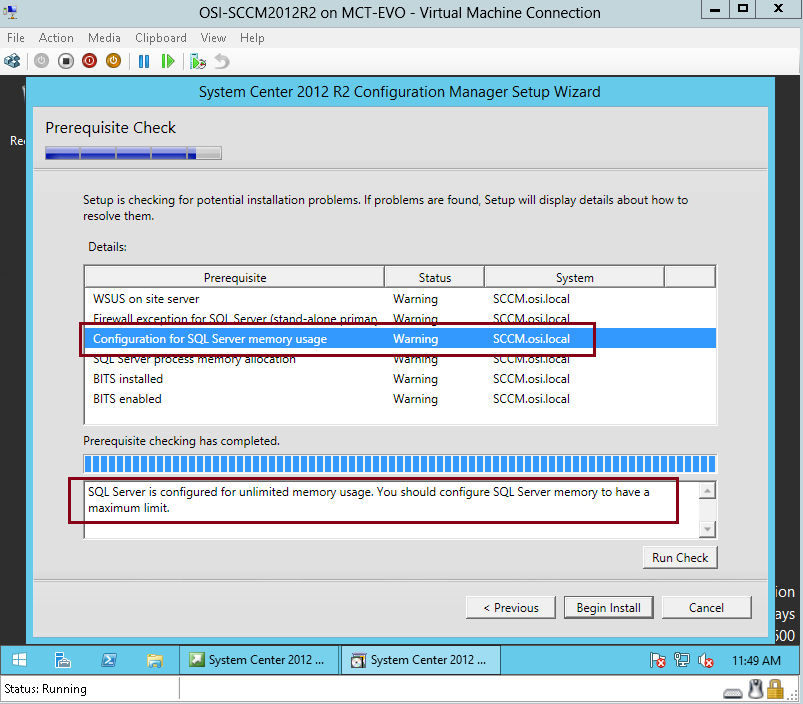
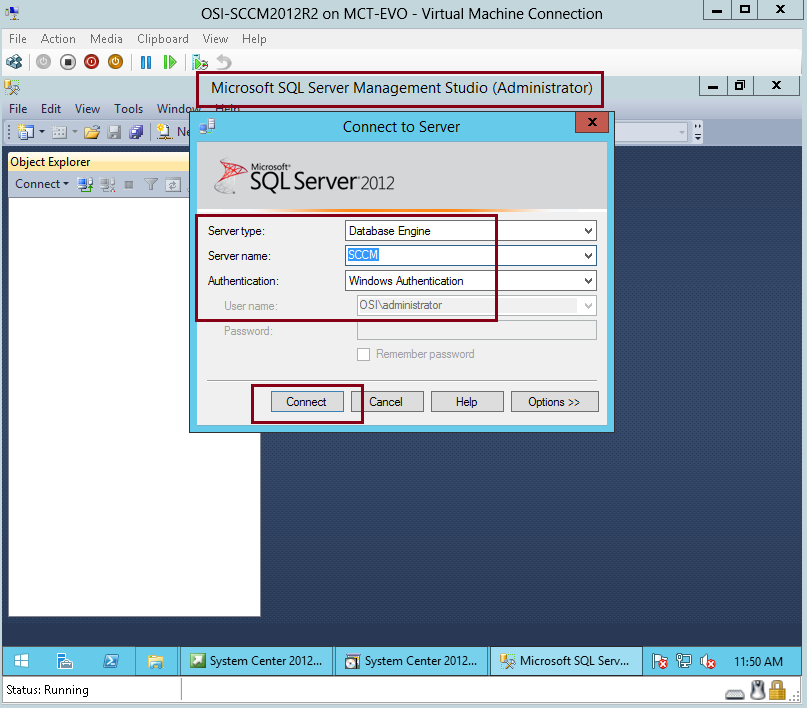
81 – To solve the SQL Server Minimum memory issue that stated on the SCCM wizard, please open SQL Server 2012 Management Studio, verify the Server name is connected to our SCCM and then click Connect…
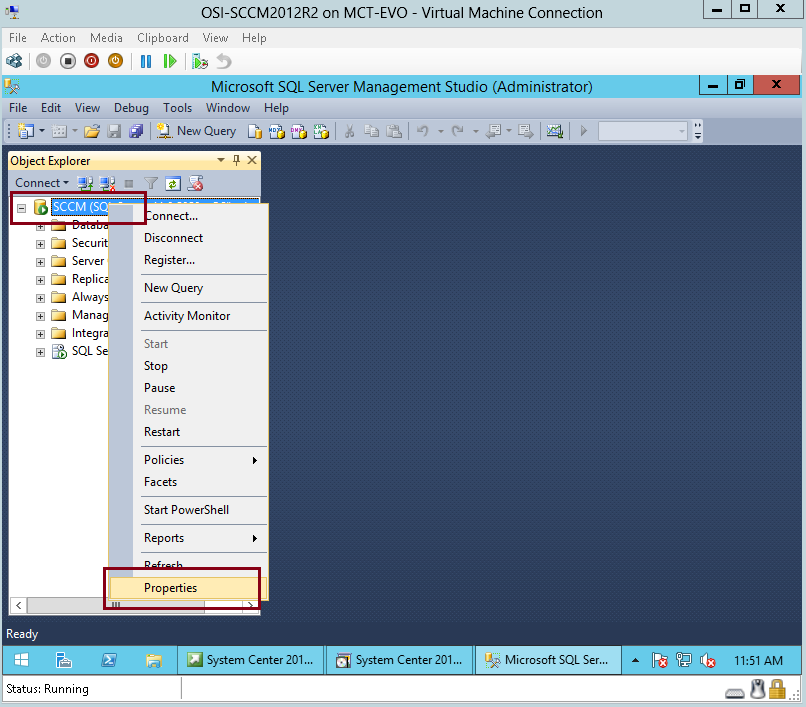
82 – In the SQL Server 2012 Management Studio, under Object Explore, right click SCCM and then click Properties…
83 – On the Server properties – SCCM interface, click Memory, under Minimum and Maximum server Memory, type 4000 and then click OK…

84 – Switch back to SCCM 2012 installation wizard and click Run Check…
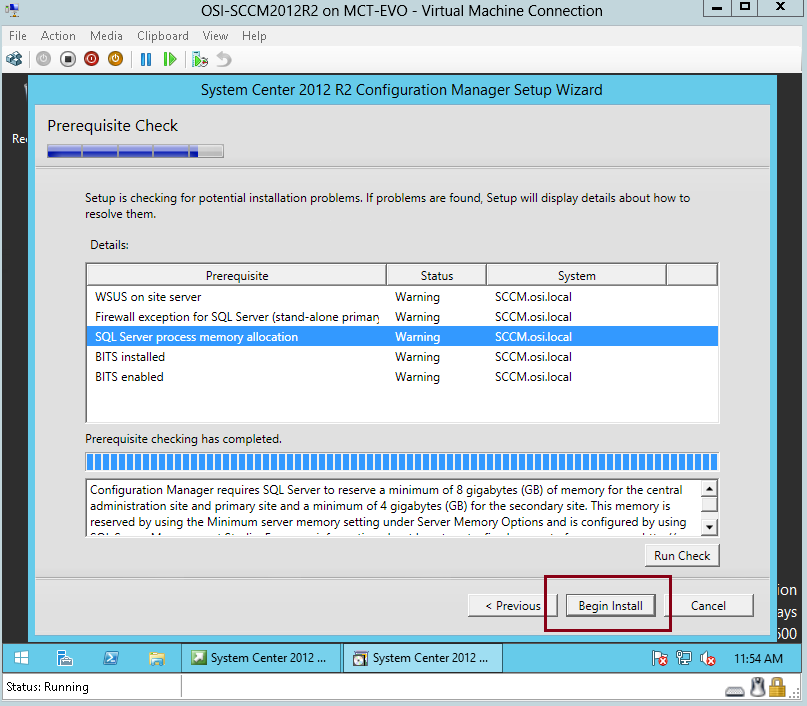
85 – Now click Begin Install and wait…
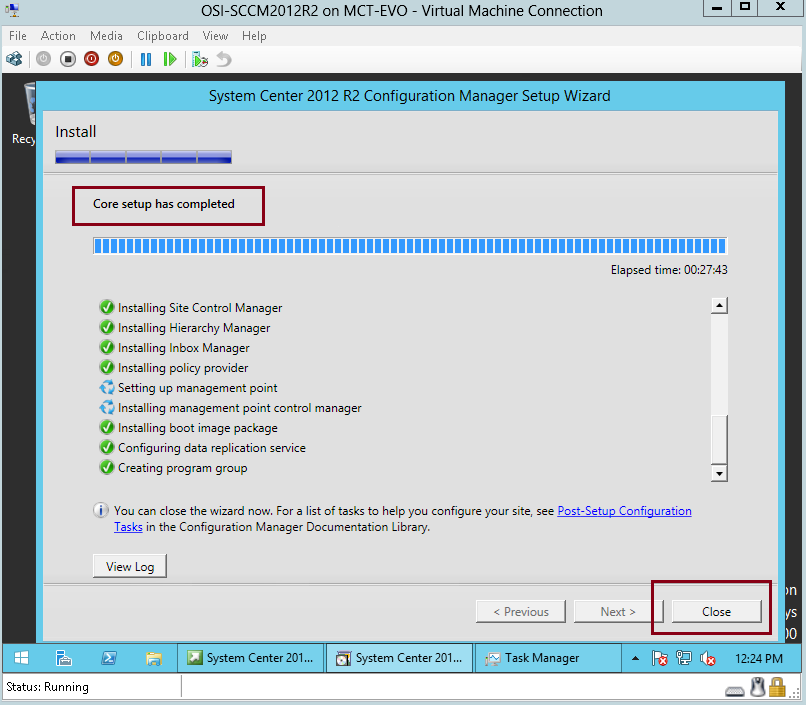
86 – On the Install interface, verify that Core Setup has completed and then click Close…
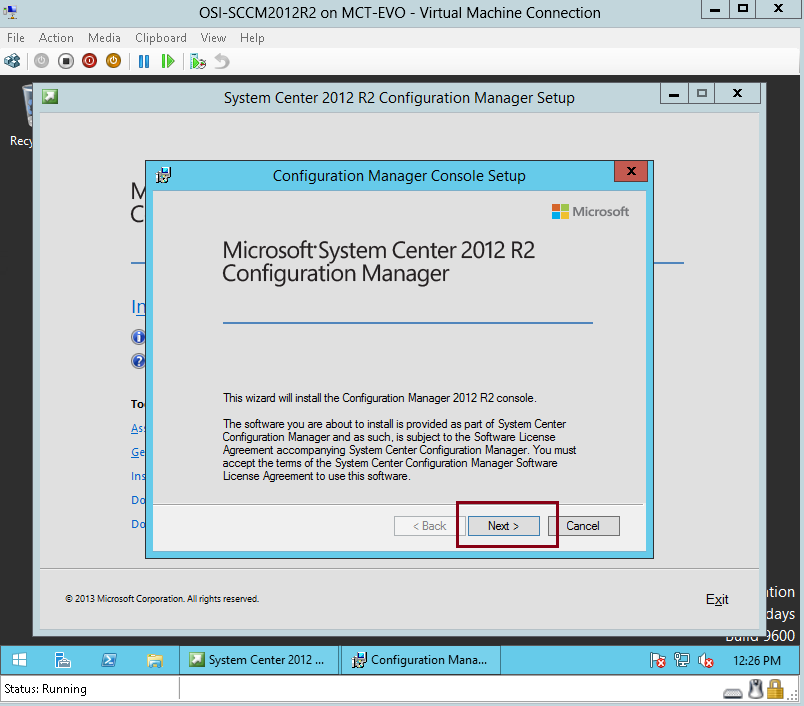
87 – On the Microsoft System Center 2012 R2 Configuration Manager interface, click Install Configuration Manager console…

88 – click Next…
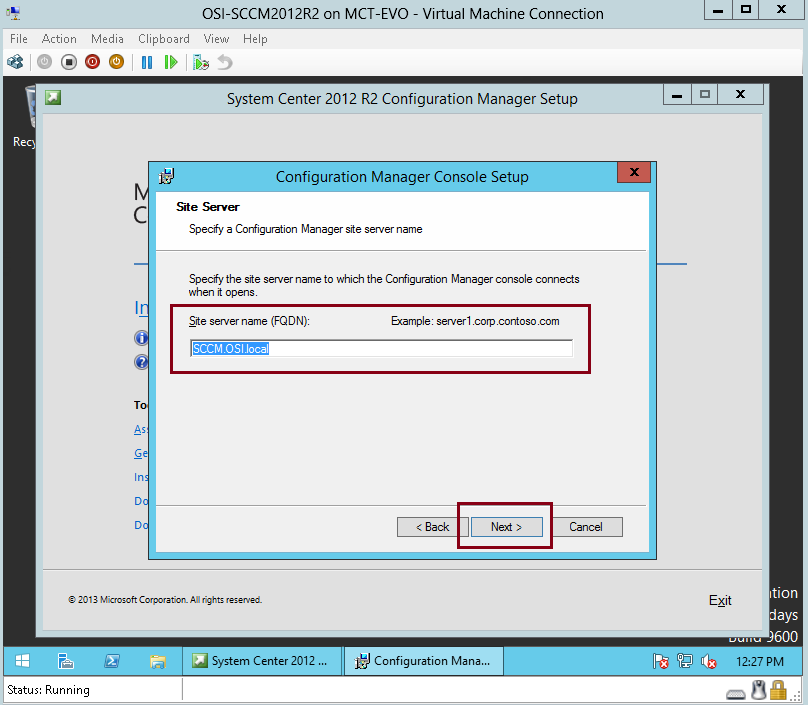
89 – On the Site Server, type our SCCM member server FQDN and then click Next…
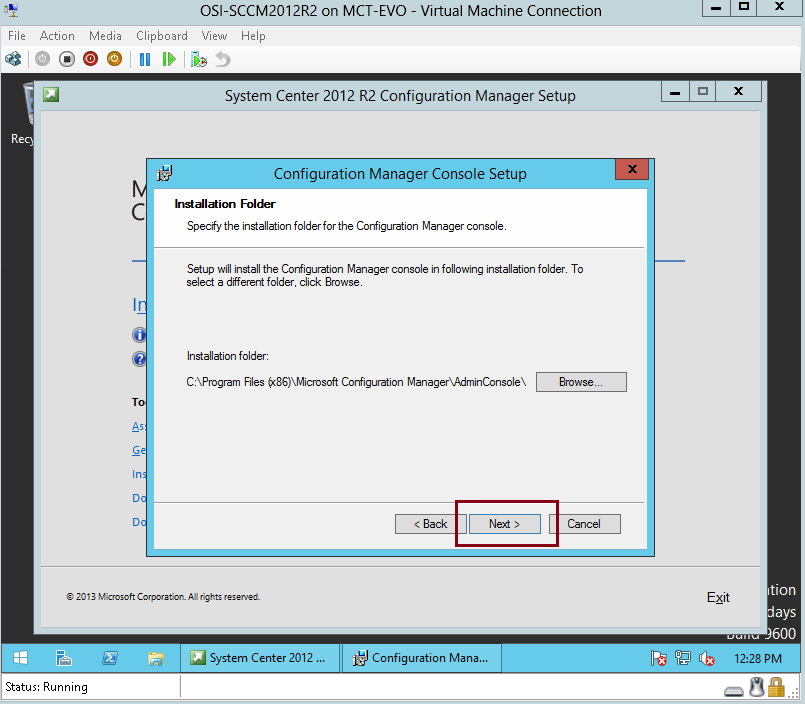
90 – On the Installation Folder interface, click Next…
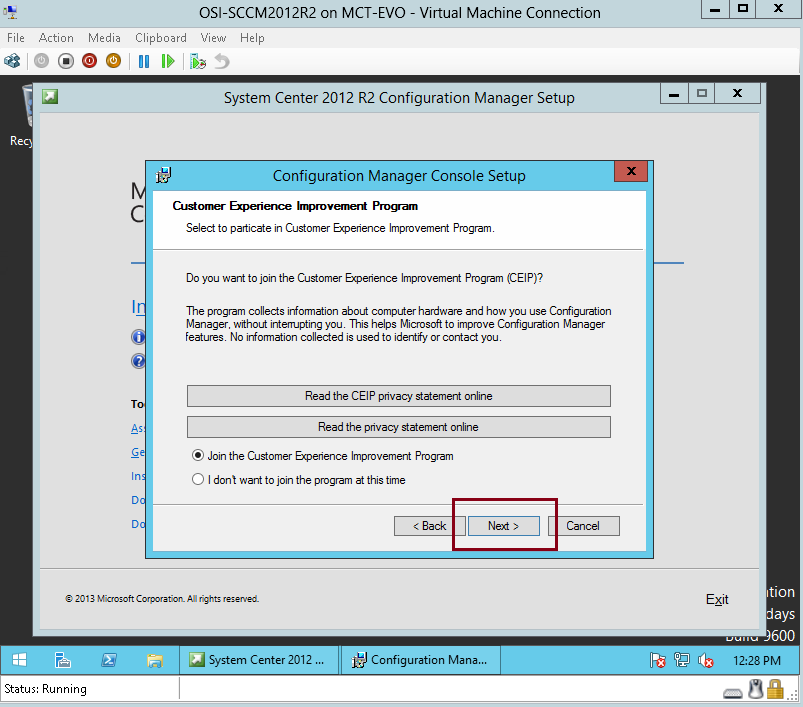
91 – On the Customer Experience Improvement Program, click Next…
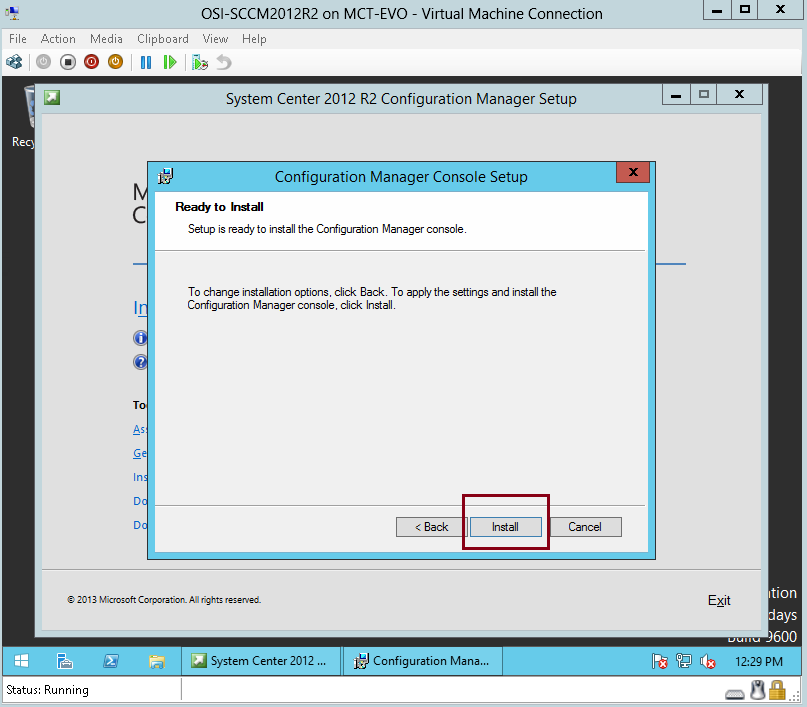
92 – Click Install…
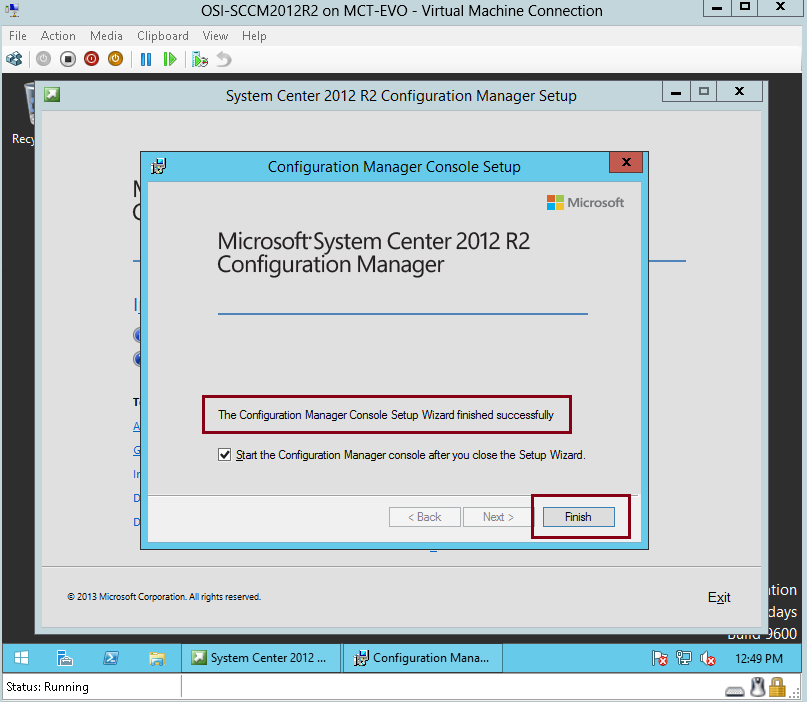
93 – Wait for the installation to complete…

94 – Click Finish…
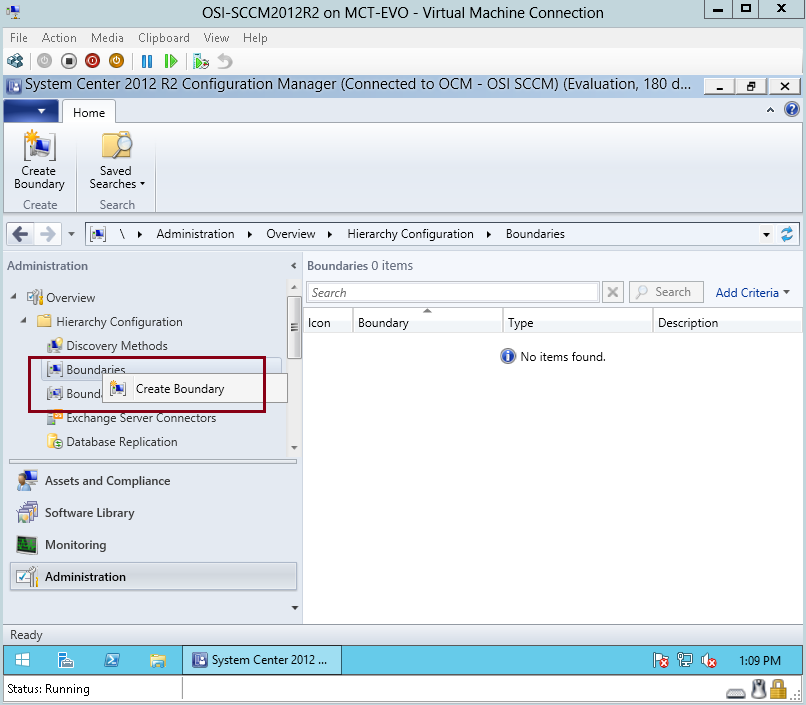
95 – Finally, we had successfully completed installing SCCM 2012 R2, and now lets create some boundary so that we can do scanning on our infrastructure…
*** FYI : A boundary is an intranet network location that can contain one or devices that more you want to manage. There are multiple ways to define boundaries, and a hierarchy can have boundaries that you define by using any combination of the
available methods. Boundary information is stored as global data and, as such, replicates throughout the hierarchy. To use boundaries for Configuration Manager operations, you must add them to boundary groups.***
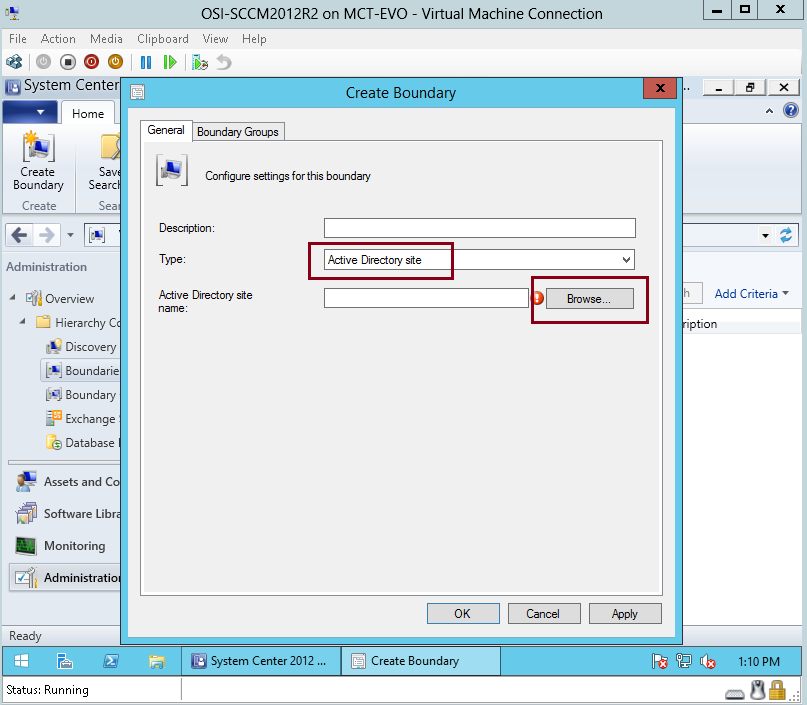
On the SCCM 2012 R2 console, under Administration, right click Boundaries and click Create Boundary…
96 – On the Create Boundary box, next to Type: verify that you choose Active Directory site and then click Browse…
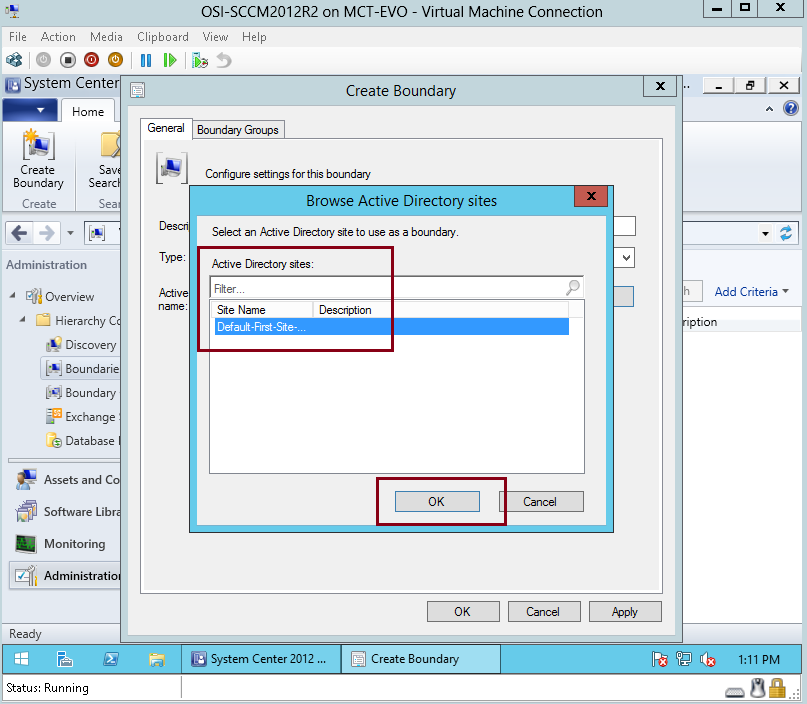
97 – On the Browse Active Directory sites interface, click Default- First-Site-Name and then click OK…
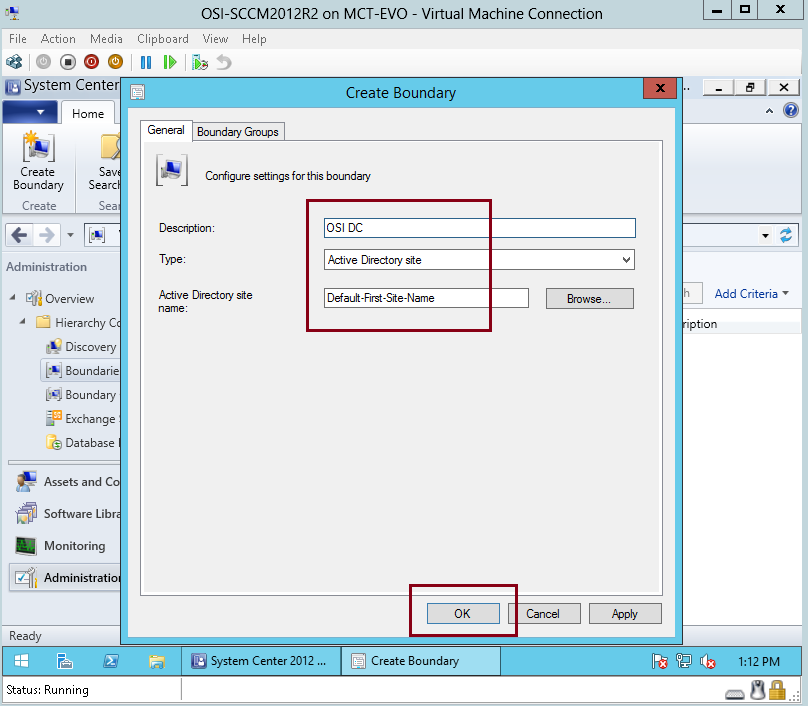
98 – On the Create Boundary interface, verify all the information and then click OK…
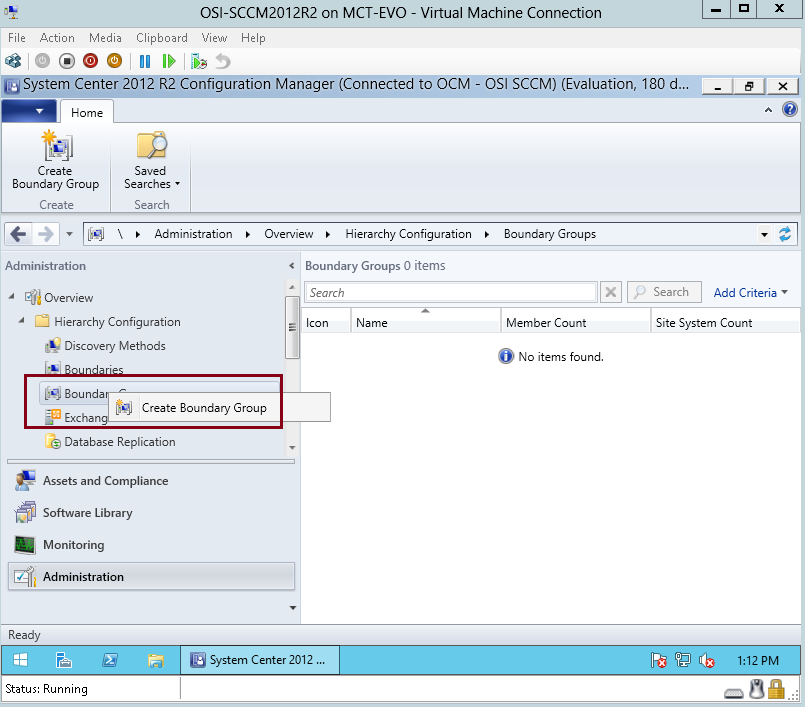
99 – on the SCCM 2012 R2 console, right click Boundary Group and then click Create Boundary Group…
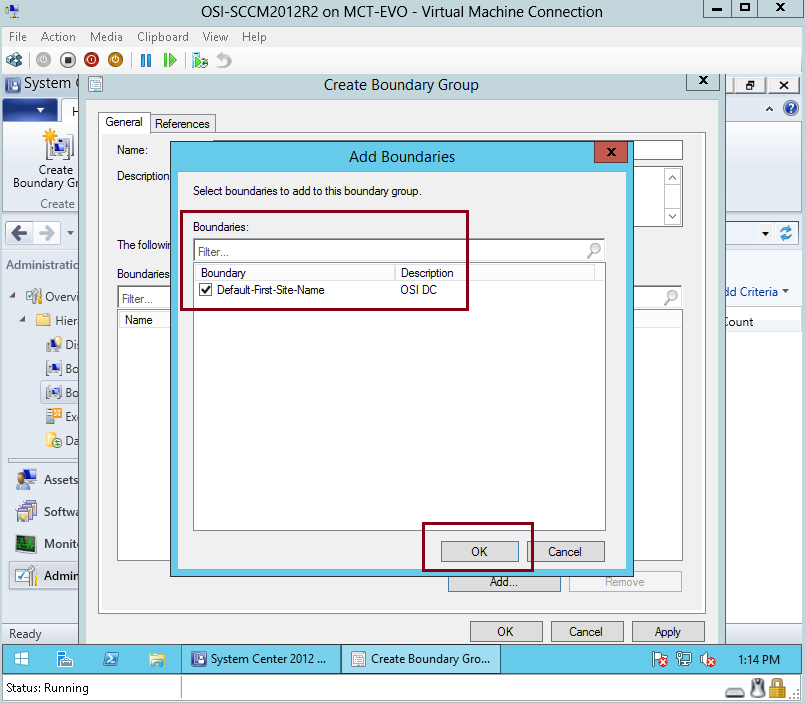
100 – On the Create Boundary Group interface, under General, type the name of the new Boundary (OSI Main Boundary) and then click Add…

101 – On the Add Boundaries interface, tick the Default- First-Site-Name and then click OK…
102 – click References tab, under Site assignment click Use this boundary group for site assignment and click OK…

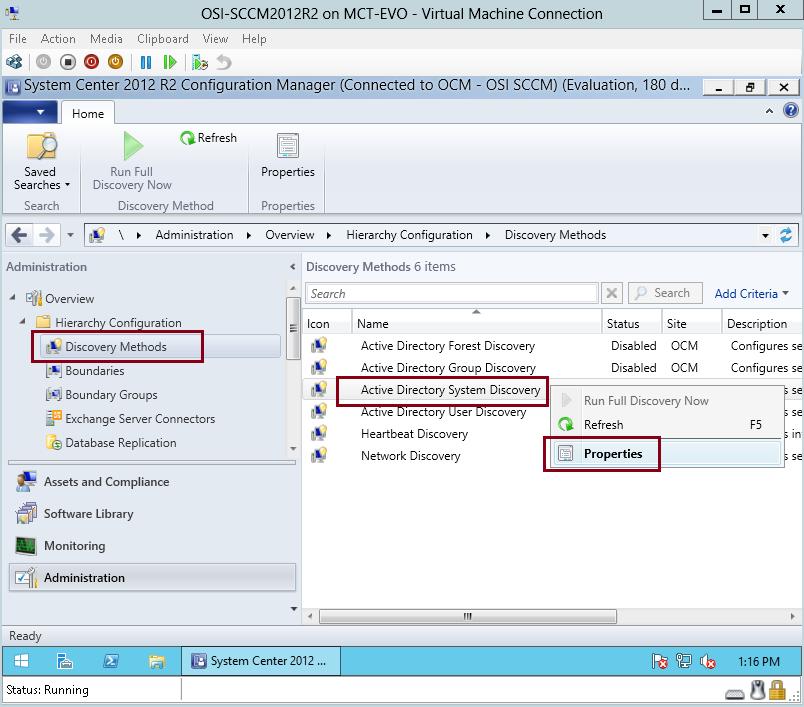
103 – on the SCCM 2012 R2, click Discovery Methods and then on the right side click Active Directory System Discovery and the right click and click Properties…
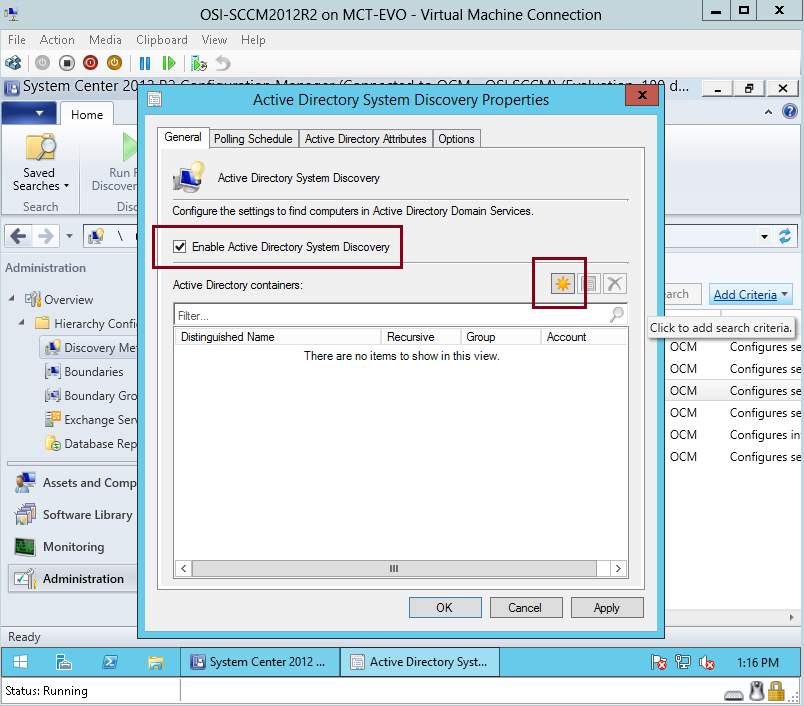
104 – On the Active Directory System Discovery Properties interface, click Enable Active Directory System Discovery and then click star button…
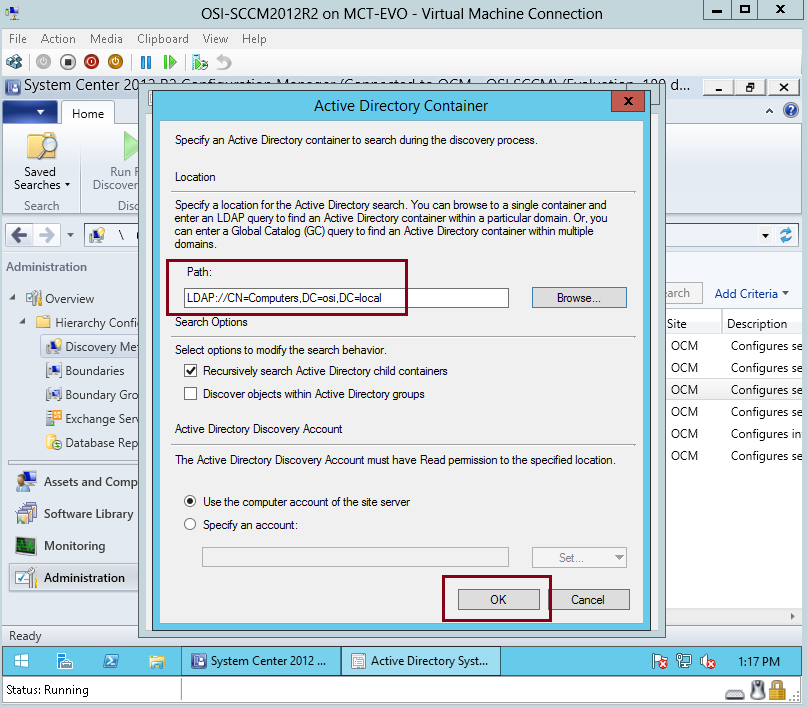
105 – On the Select New Container box, click Computers folder and then click OK…
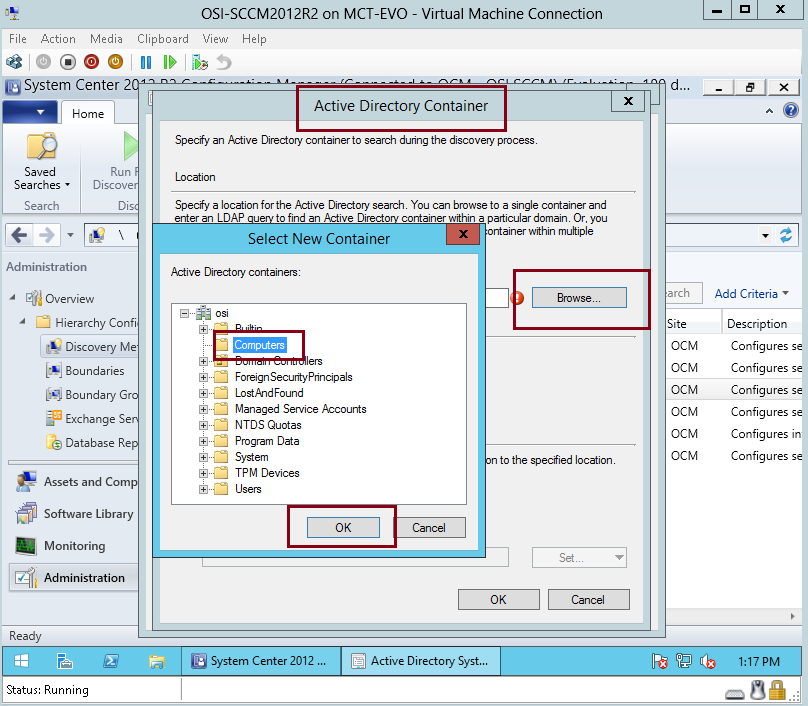
106 – on the Active Directory Container, verify the path and click OK…
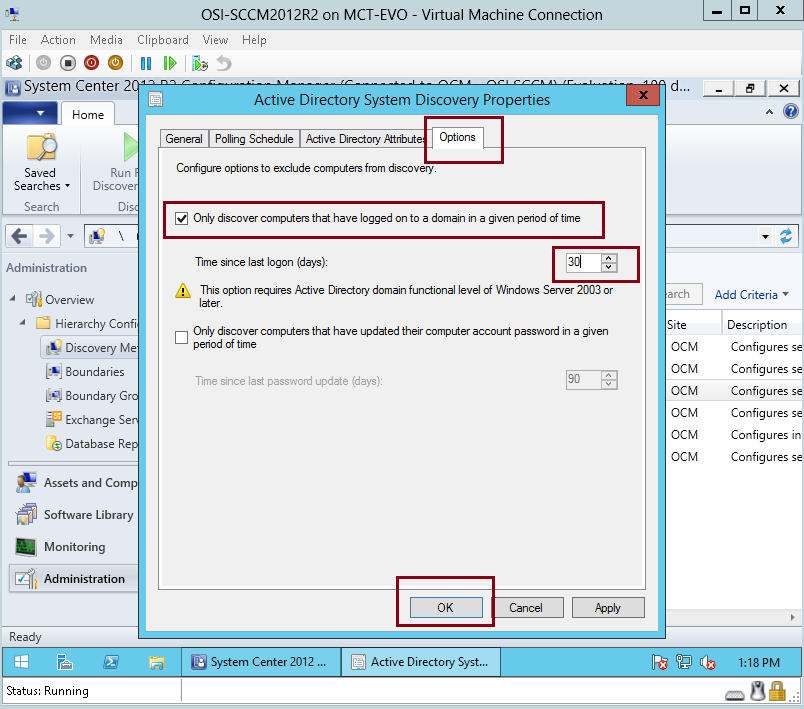
107 – click Options tab, and then click Only discover computers that have logged on to a domain in given period of time, in this demo i type 30 days, and then click OK…
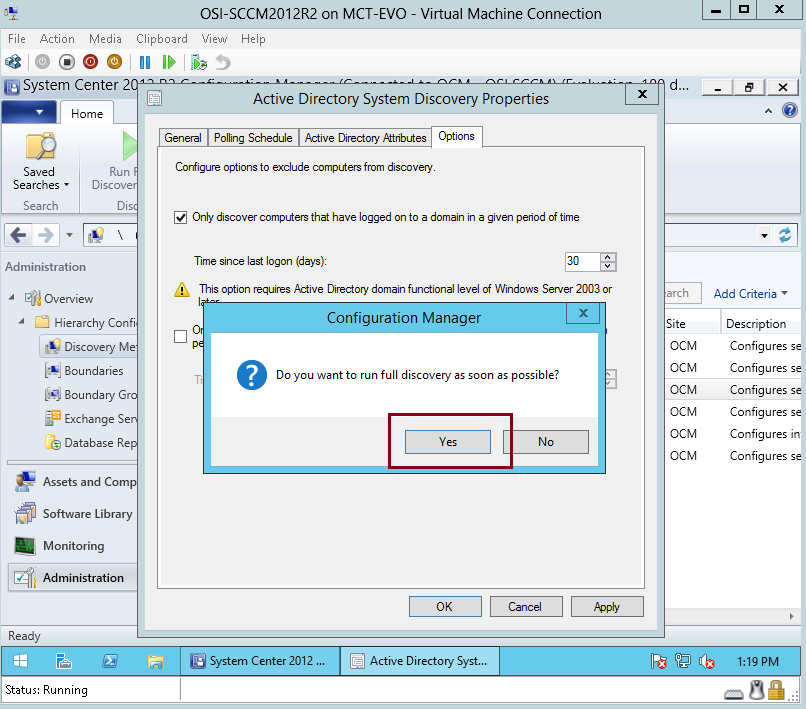
108 – On the Configuration Manager interface, click Yes…
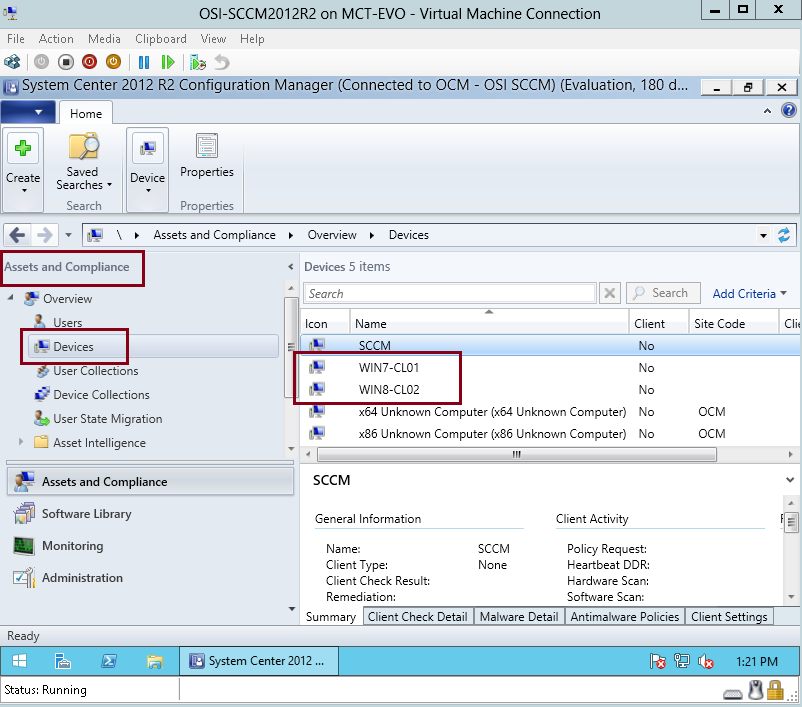
109 – On the SCCM 2012 R2 console, click Assets and Compliance, then click Devices, verify that all your client PC will listed under the devices name…
Orait, i’m done for now.. i will continue blogging about SCCM 2012 R2 in the future, still long way to go…